CINEMAGRAPH: SURREALISM PARALLAX (4 WEEKS DURATION)
I had to photoshop or combine several photos to make it surreal. And later on to animate some light movement of the elements in the photo. I had to use the techniques we learned in the previous classes.
I researched some surreal art paintings for ideas on Pinterest.
andreaviechoong.com andreaviechoong.com
andreaviechoong.com andreaviechoong.com
And I came across this painting and used it as my reference to create my surrealism photo.
Reference art painting:
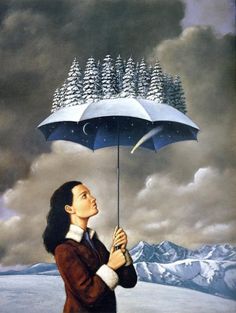
Before I start creating my surrealism photo, I analyse the following layers, the background, mid-ground, and foreground (subject).
Background: the sky and the clouds
Mid-ground: the mountains, snow path, trees
Foreground: the girl holding the umbrella
After analyzing, I searched for free stock images to help me construct my surreal photo as well as my own photographs.
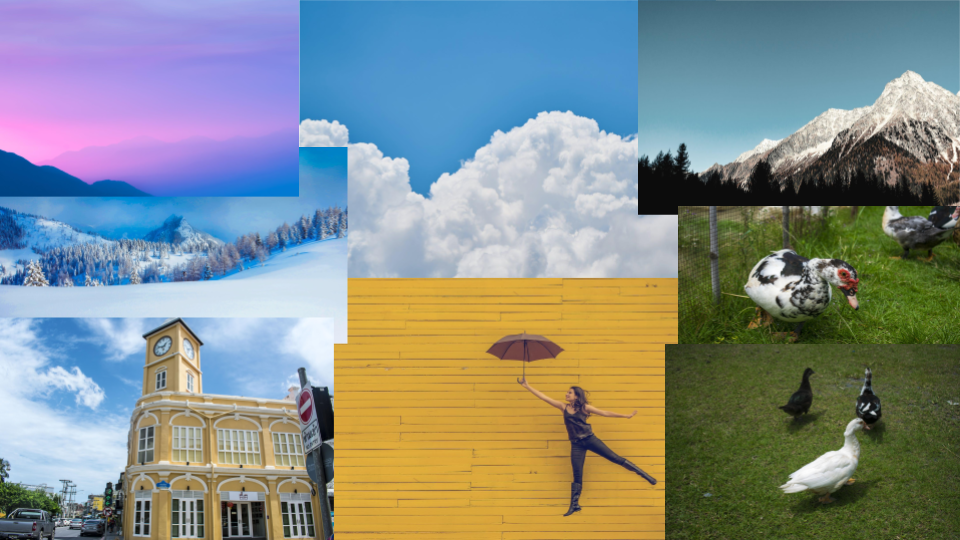
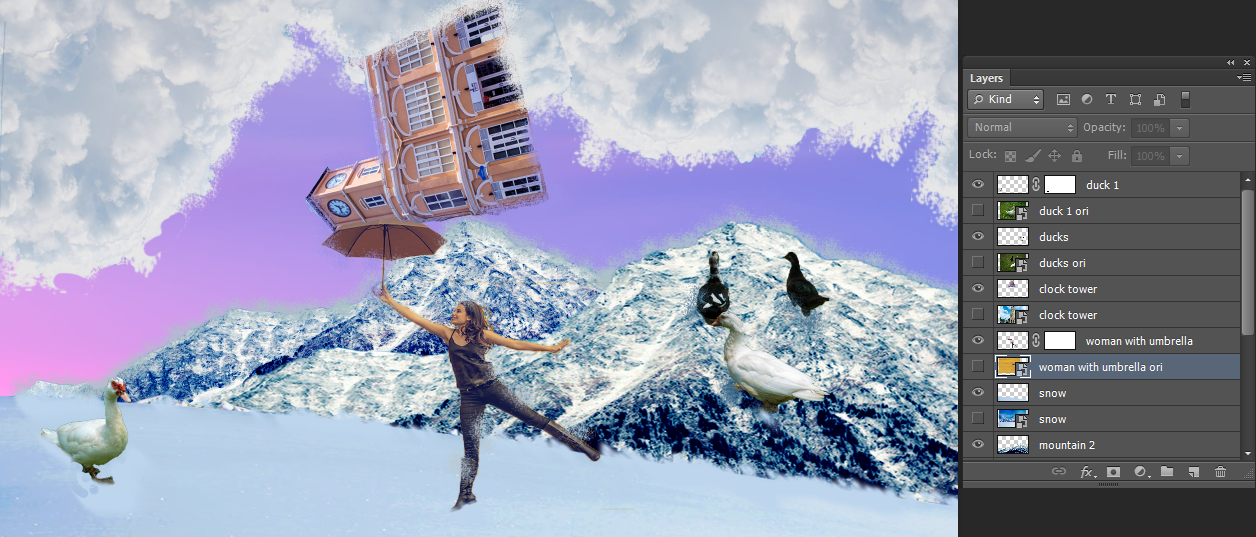
From the photos I gathered, I started to plan out which elements should be in the background, mid-ground and foreground from the analysis I did for my reference artwork. And I placed them and edited each image to make it into one piece.
I added some shadowing using the brush tool to make it blend well. I even added some other elements like the ducks and a clock tower to create more surrealism.
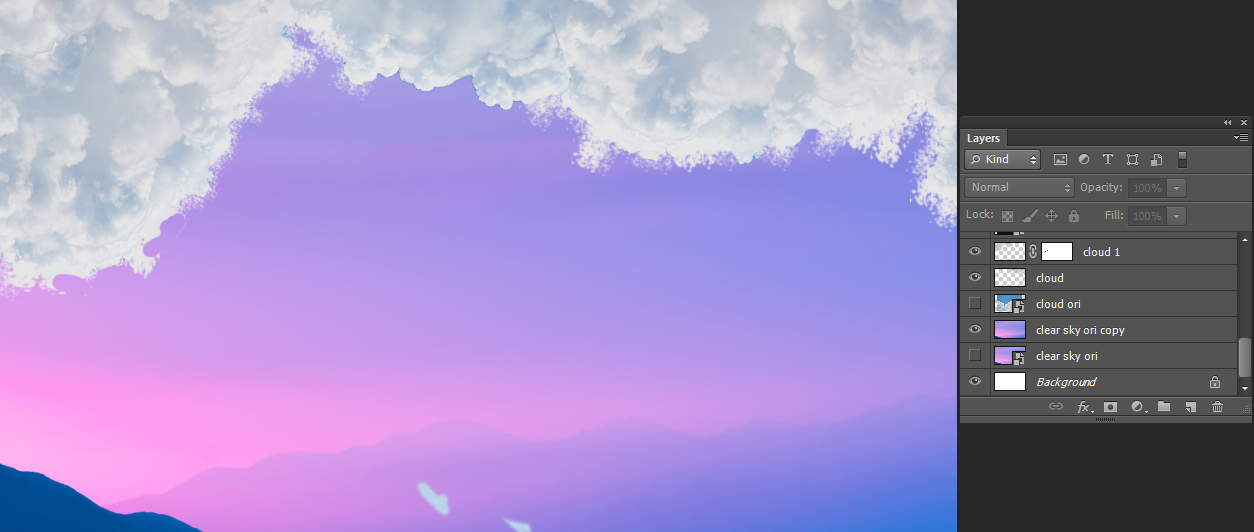
Background layer: sky & clouds
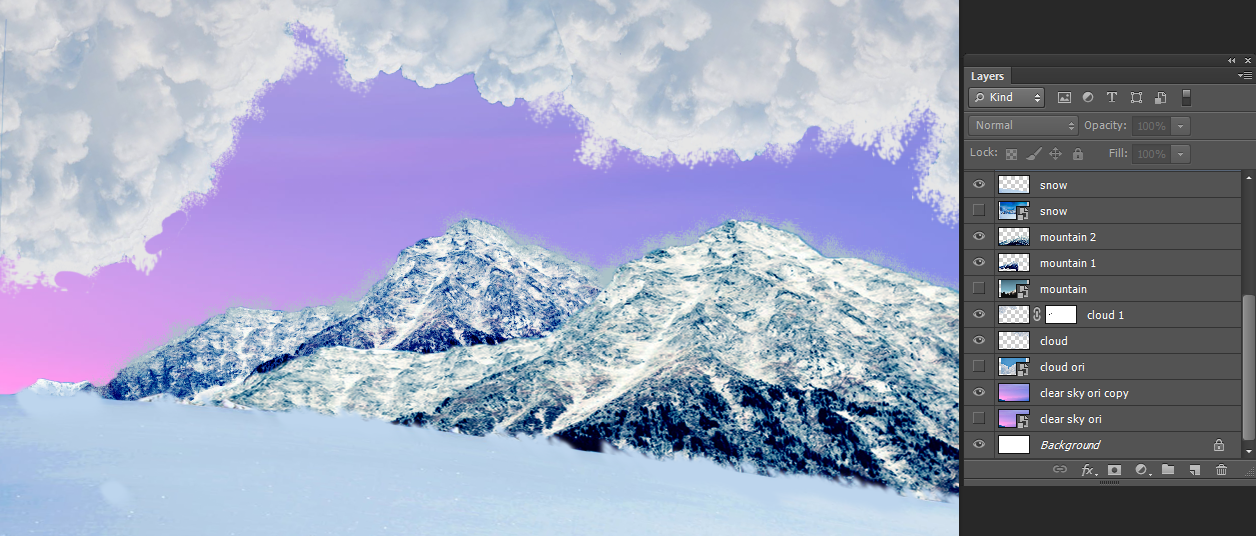
Mid-ground: mountains & snow path
Foreground: the girl with umbrella, clock tower, and ducks
Animated GIF of my surreal image process
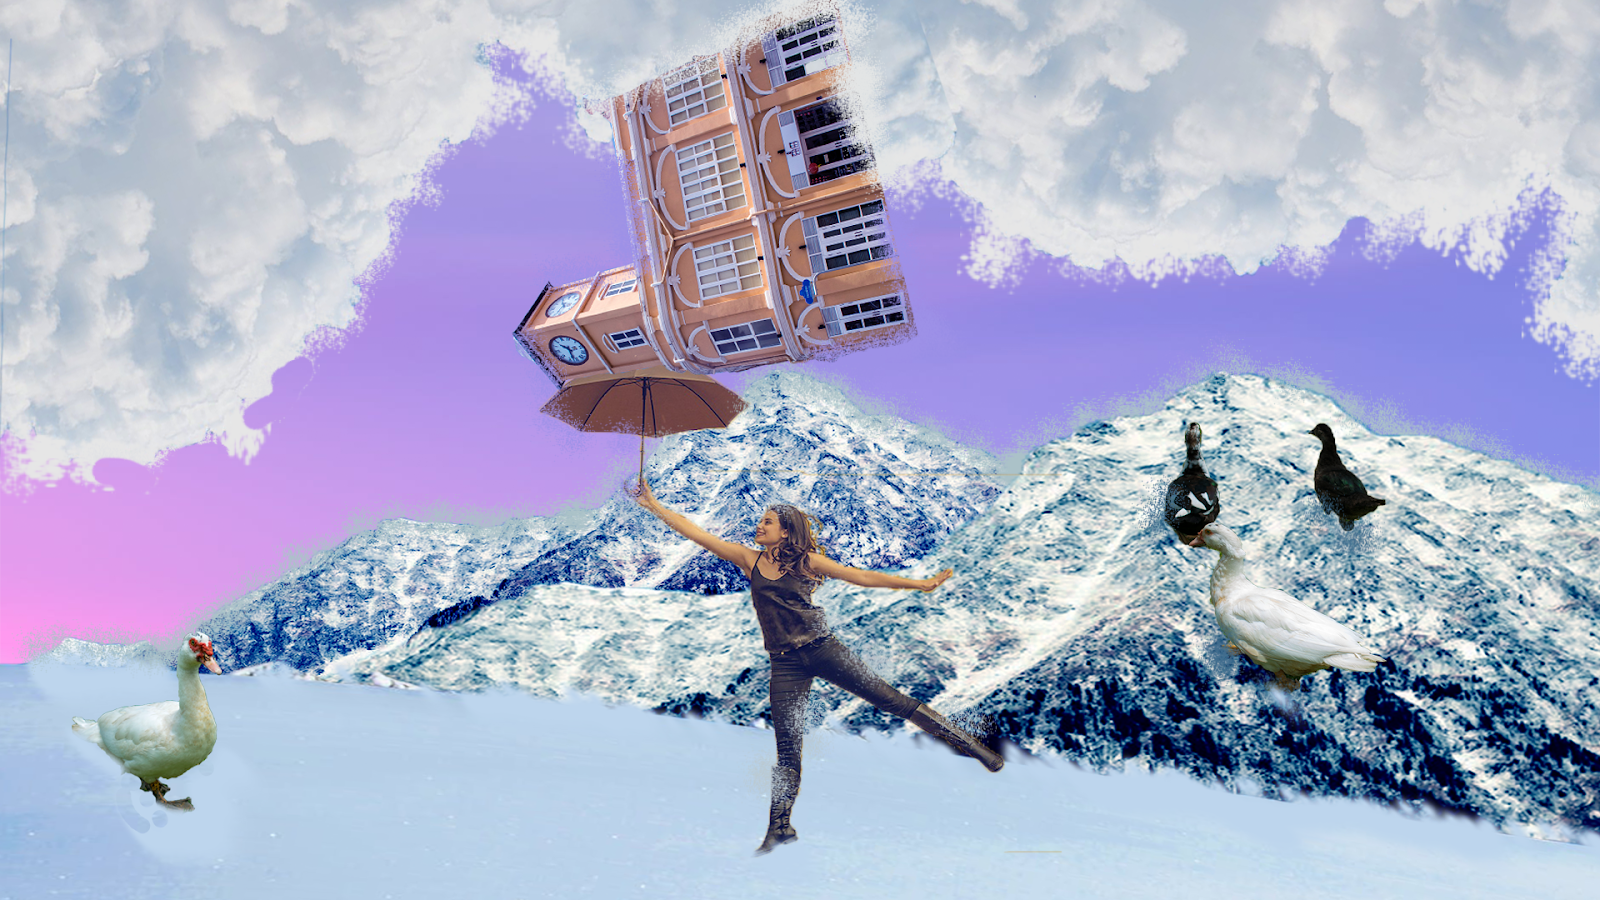
Final Outcome (Static)
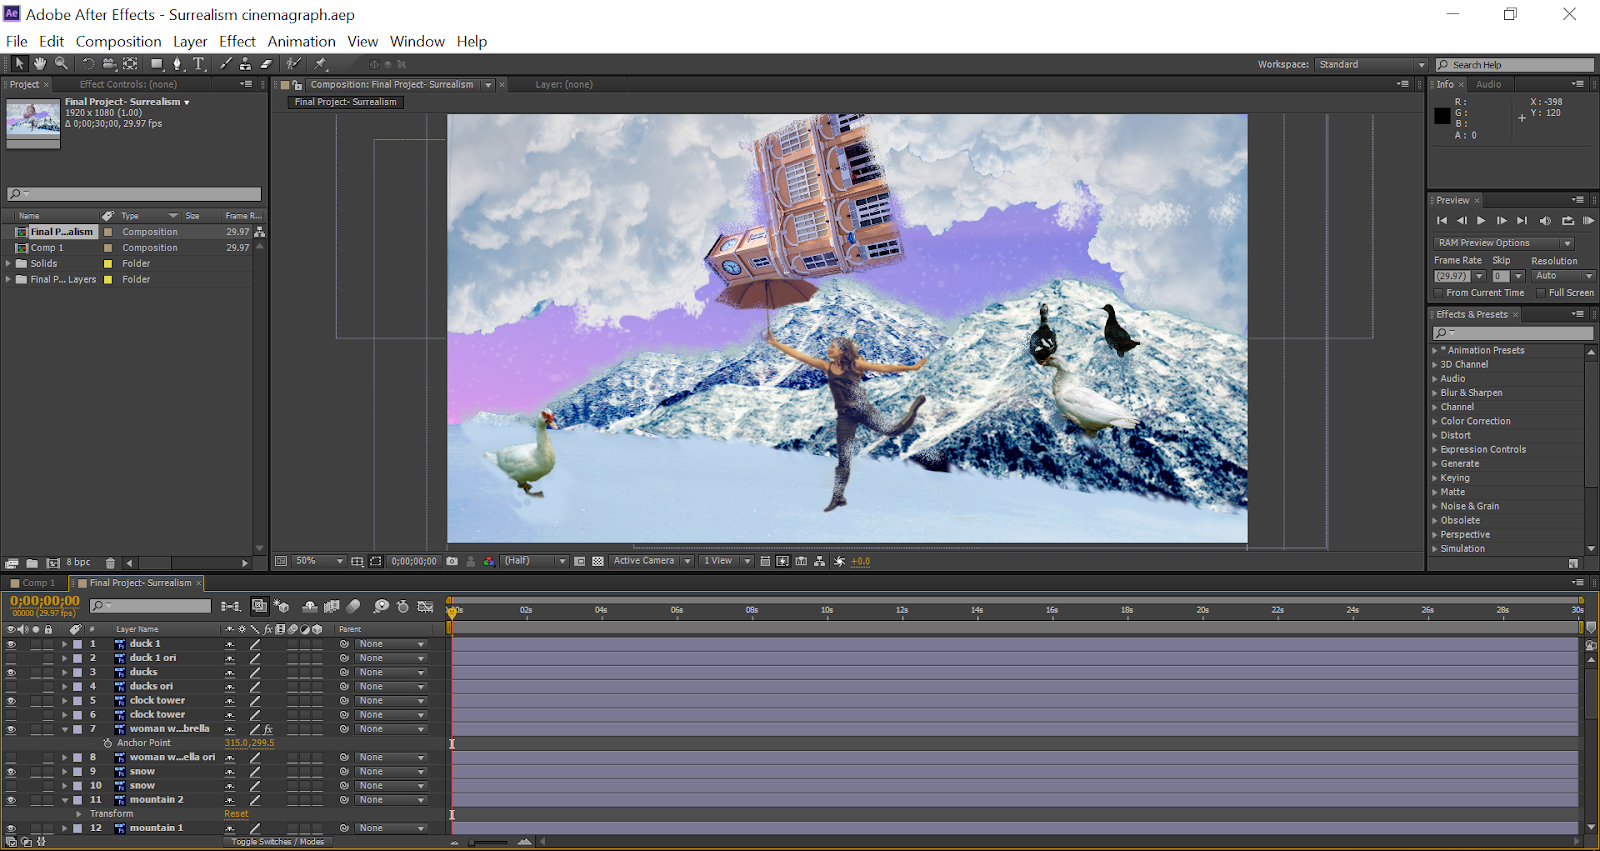
After creating my surreal image, I have to animate some movements in the image to create a cinemagraph / surrealism parallax. I chose to animate the movement of the clouds, the girl is jumping and add some snowing effect.
Progress of surrealism parallax
Here is a Youtube video below of my surrealism parallax!