CHARACTER DESIGN (4 WEEKS DURATION)
This project is basically about creating our own character. We need to create a character based on our exercise of tracing the Vormator shapes/elements using the pen tool. Later on, we need to decide either to laser cut, UV print or 3D print the character and create a pokemon card of it.
At first, I designed a simple character before but I was not satisfied so I develop the idea further.
Idea 1 to Idea 3 Sketches:
andreaviechoong.com andreaviechoong.com andreaviechoong.com
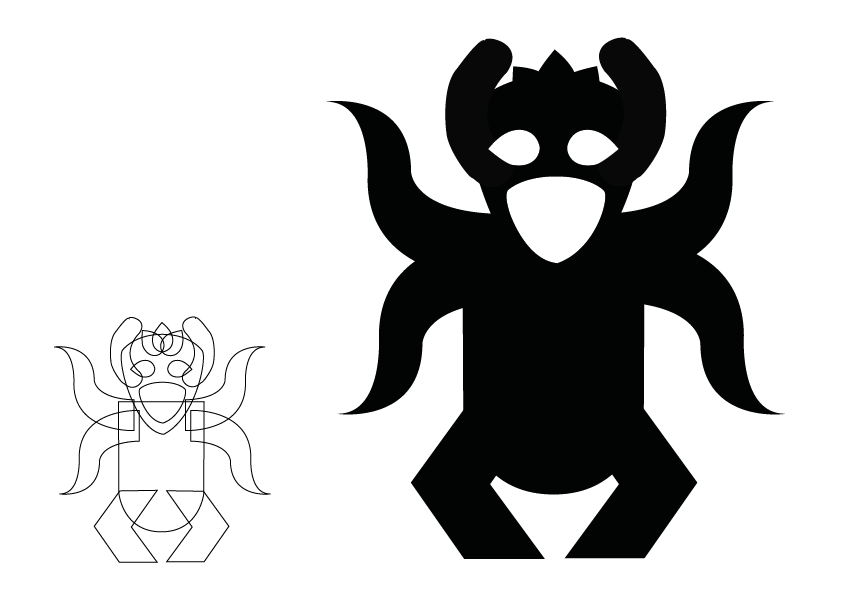
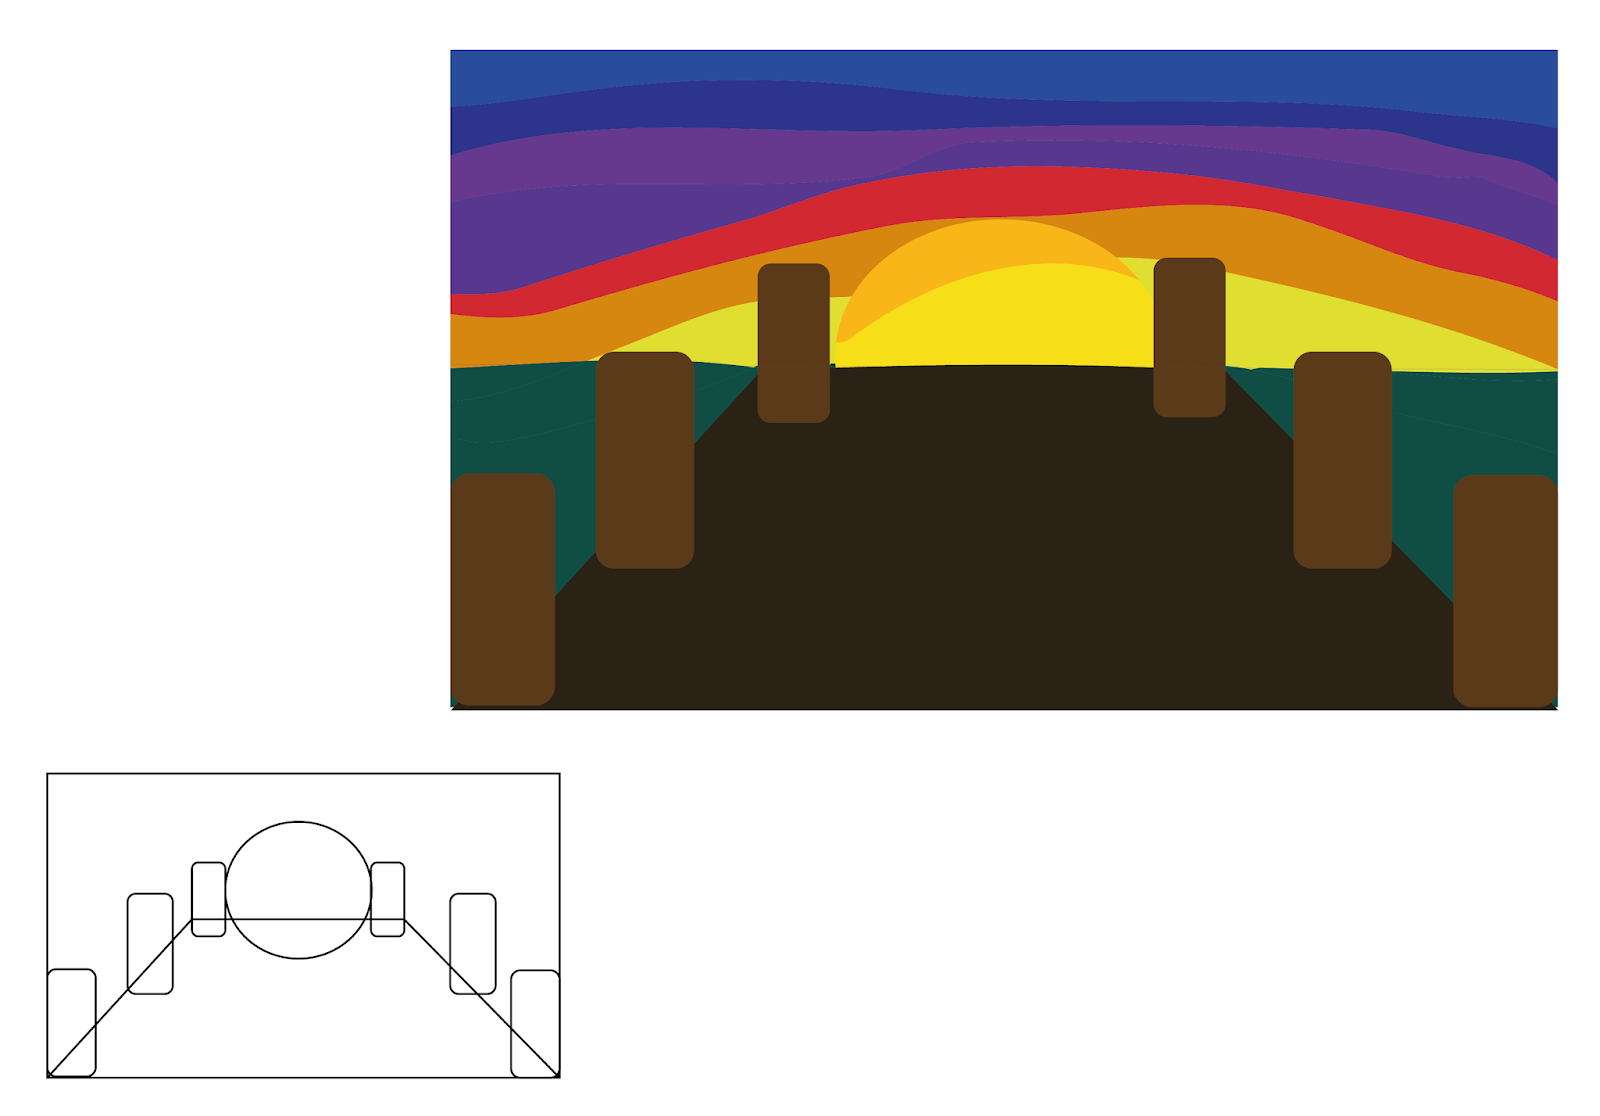
Final Outcome (Character Silhouette & Outline):
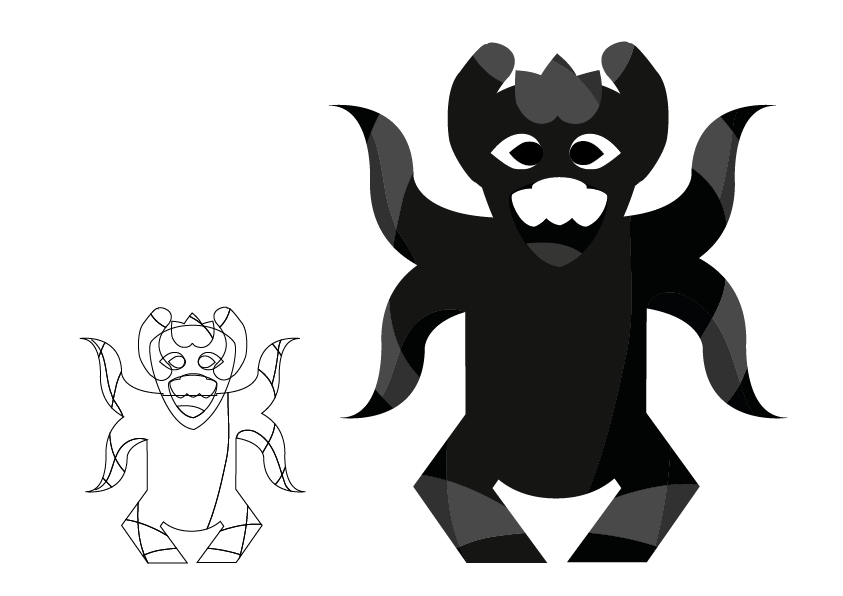
After finalizing my silhouette, I moved on to adding the details like shadows and highlights to make my character look 3-dimensional. I used grey colour tones to differentiate the shadows and highlights.
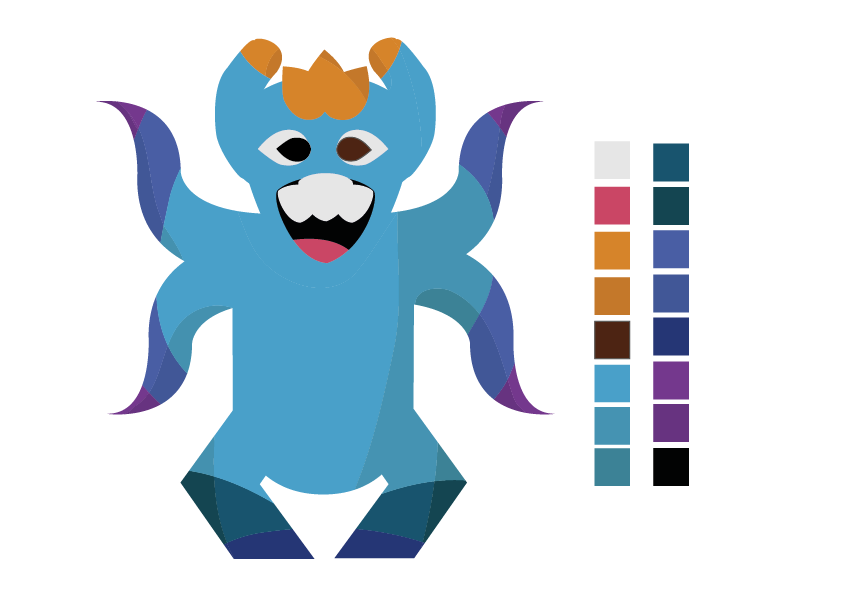
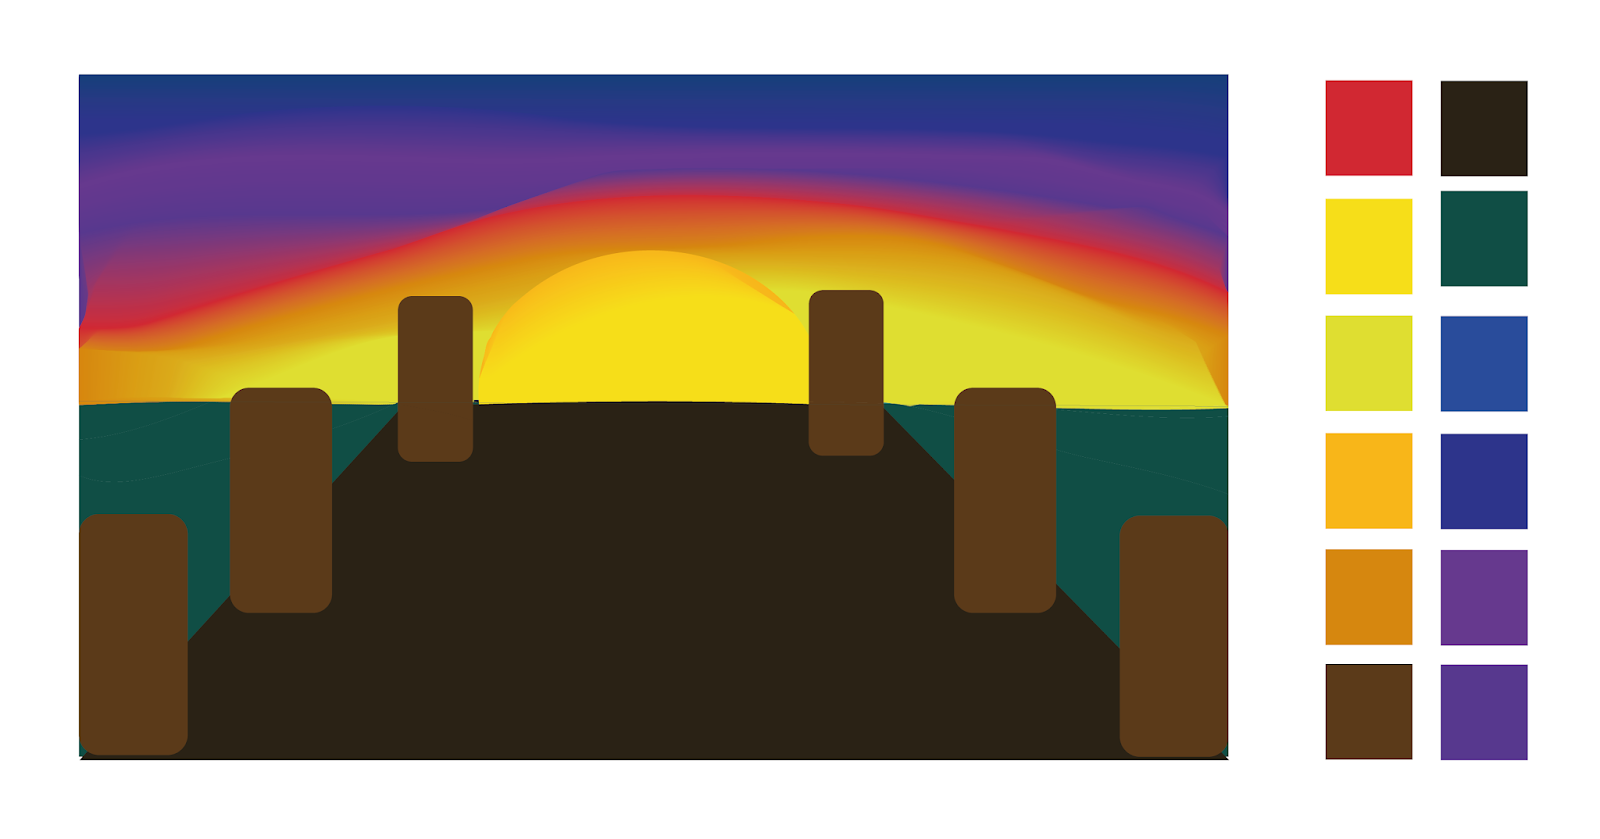
After our character design is completed, we had to add colours to our character. I tried out with different colours and ended up with this colour scheme as my final.
Then, I moved on to design the background for the character. I wanted to make my background more simple as I want my character to stand out.
Final Outcome (Background & Outline):
Final Outcome (Background with details & Colour Scheme):
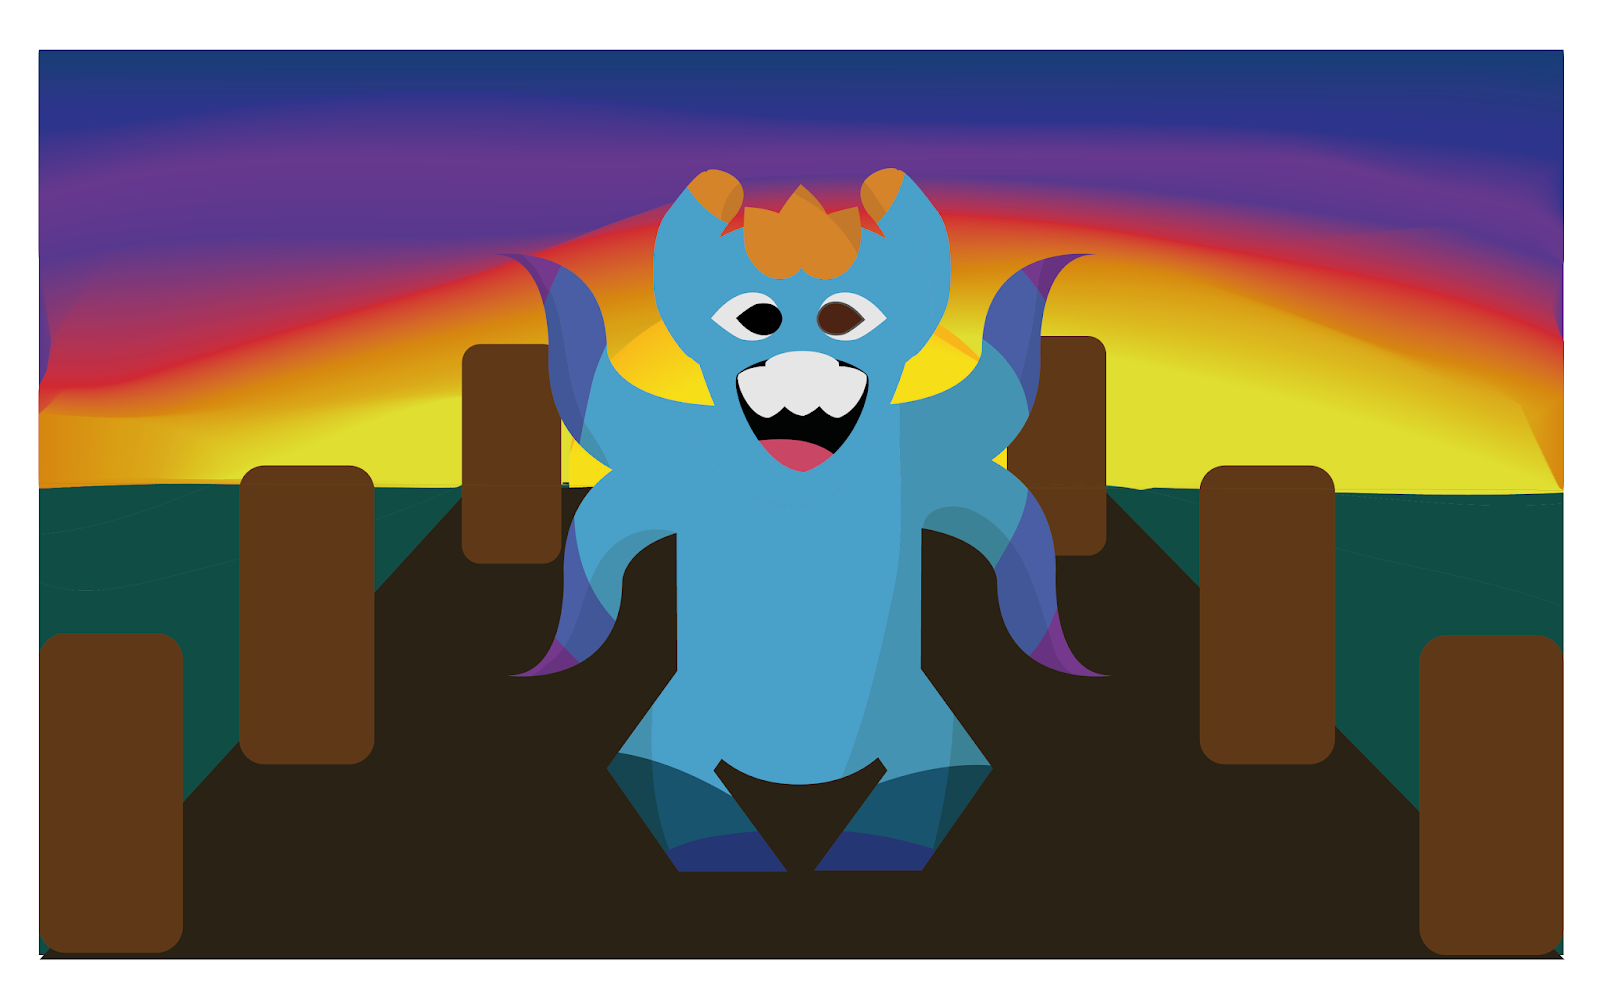
After finalizing my background, I placed my character on the background to see how it looks like.
Final Outcome (Character with background):
I decided to not add texture to my character and leave it as an opaque colour. But I tried to experiment on a texture on my character to see the visual difference. I wanted to show a wavy movement so I used a cloth texture.
Experiment with a cloth texture on the character:
andreaviechoong.com andreaviechoong.com
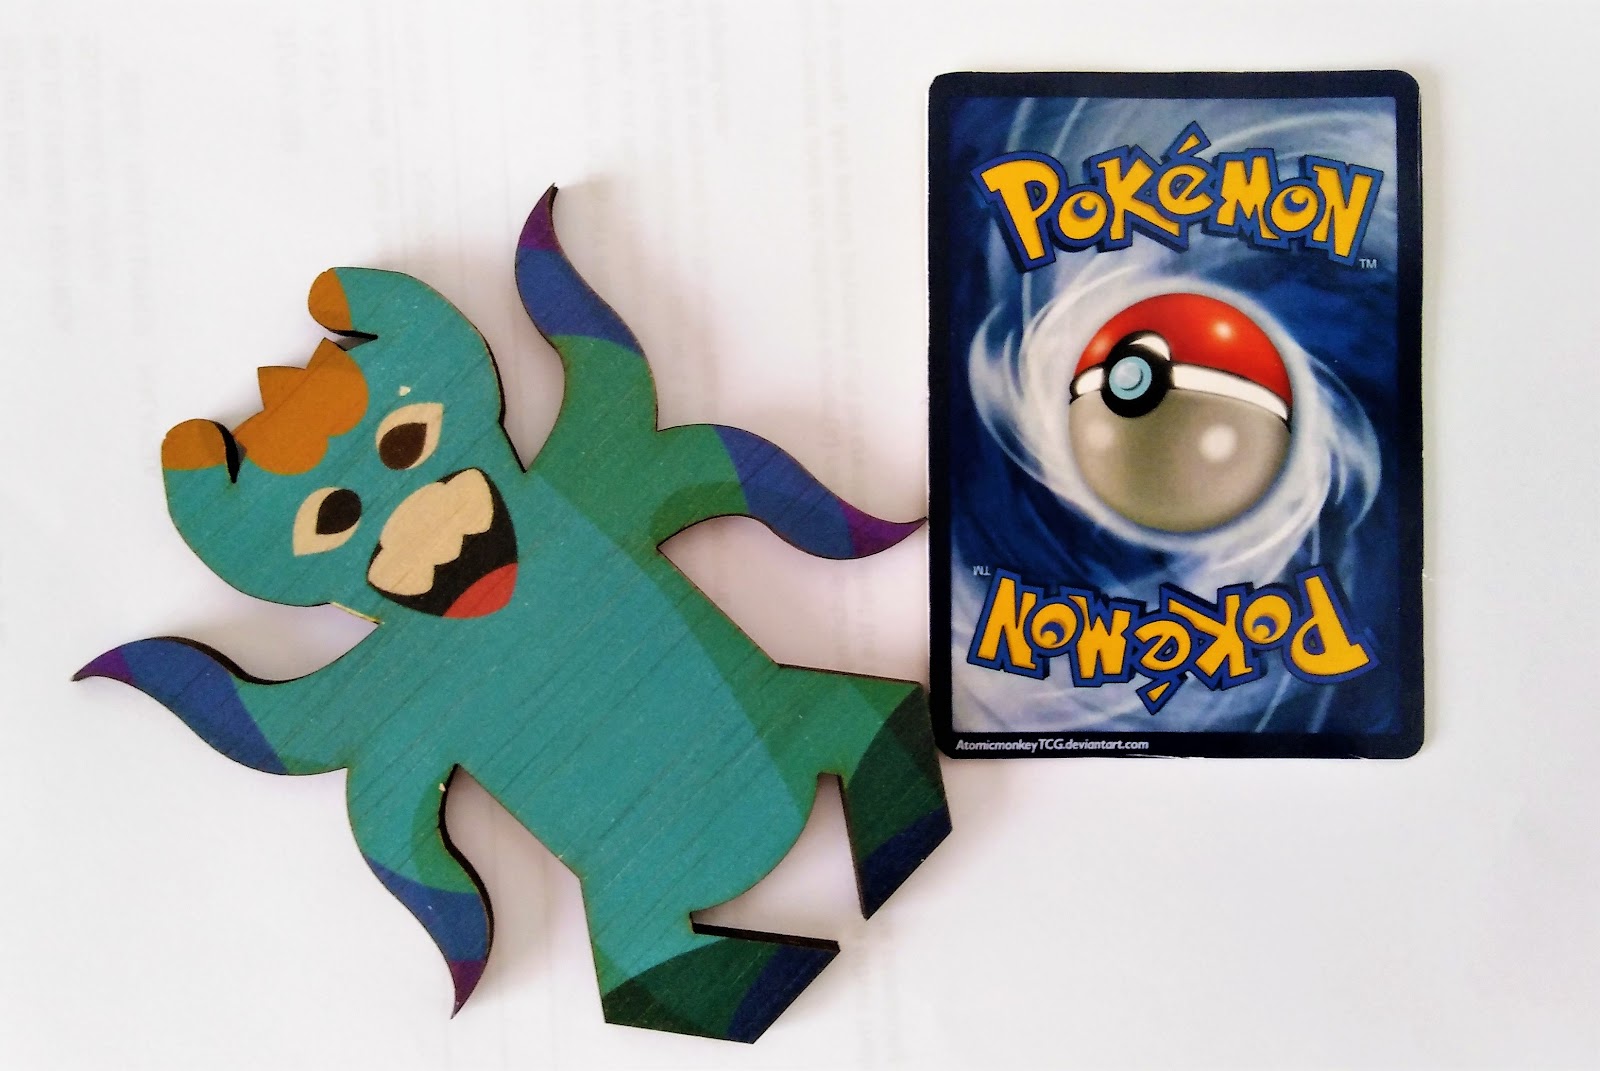
I went to Fabspace KL where I could print my character design on either wood, acrylic or embroidery. I planned to laser cut the outline of my character first then I decided to print colours onto the outline.
We needed to draw out a red outline of our character in Adobe Illustrator to indicate the cutting area.
After the laser cut is done, the character outline is moved to the UV printer where the colours will be printed on the wood piece.
Final Outcome (Laser cut design of character):
andreaviechoong.com andreaviechoong.com andreaviechoong.com
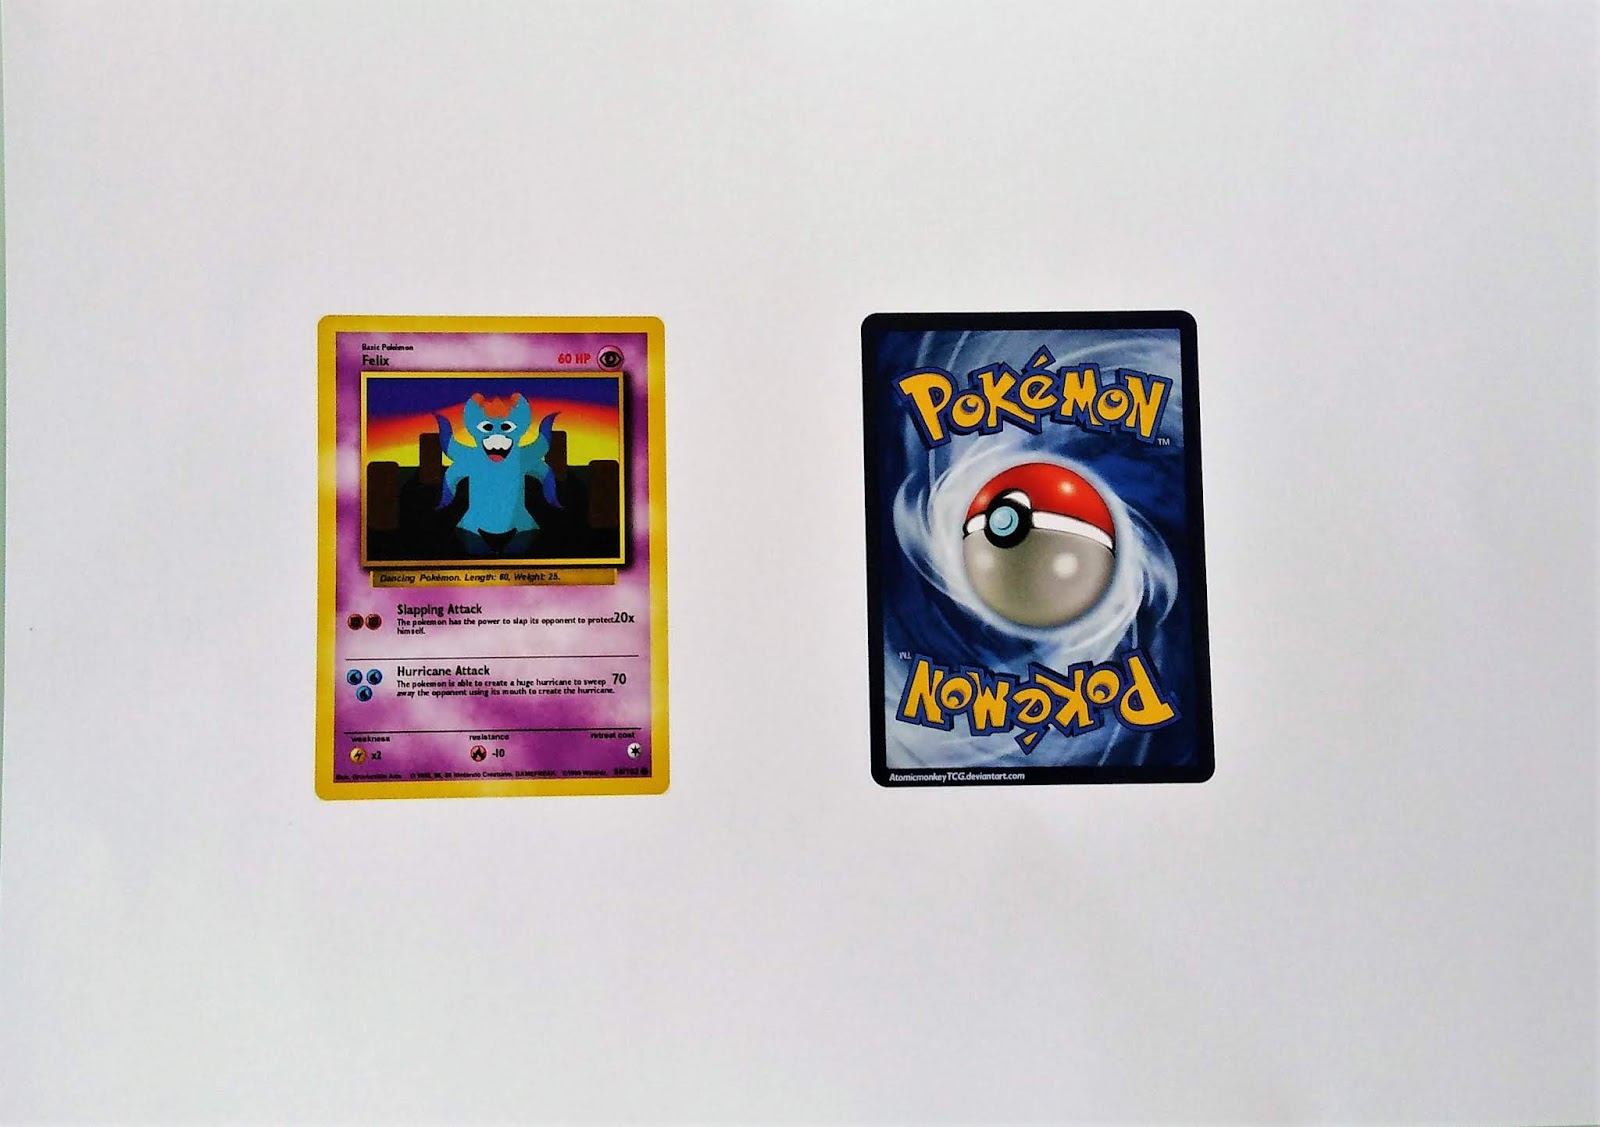
After completing my character, I created my own Pokemon card. The image of the Pokemon needs to include the character and background. I used an app called pokemoncardapp.com where it creates a design for you after editing on the card itself.
Final Outcome (Design of Pokemon Card):
Final Outcome (Printed Pokemon Card):
Final Outcome (Character Model & Printed Pokemon Card):
FRONT
BACK