FRONT & BACK AND BACK & FRONT | TUNNEL BOOK
I was briefed on my final project, Front & Back and Back & Front. The aim of this project is to convey a story with depth, perspective and interactive to use. We were able to show the story using one of these outcomes, a tunnel book or a webcomic.
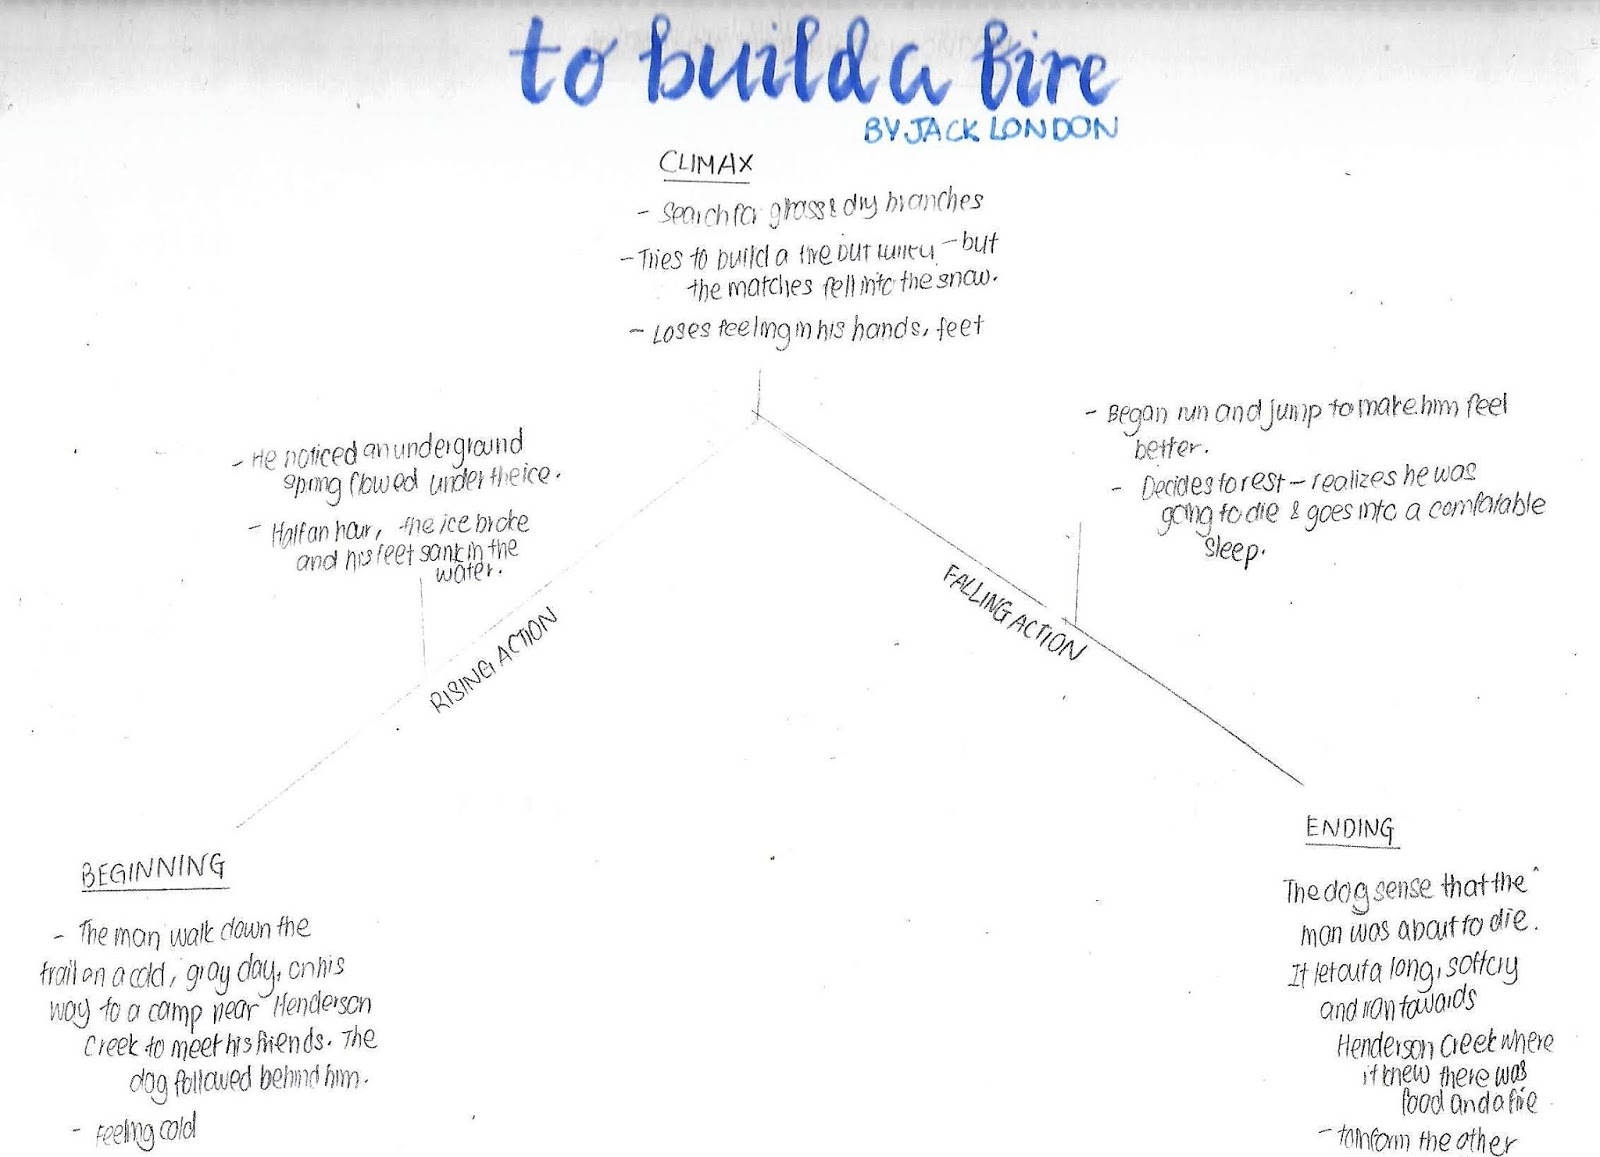
Before choosing the final outcome, I search for several short stories. I chose to do a short story “To build a fire” by Jack London. I read the whole story and wrote out the story in a diagram showing the beginning, rising action, climax, falling action, and ending.
Story Analysis (Beginning, Climax, End)
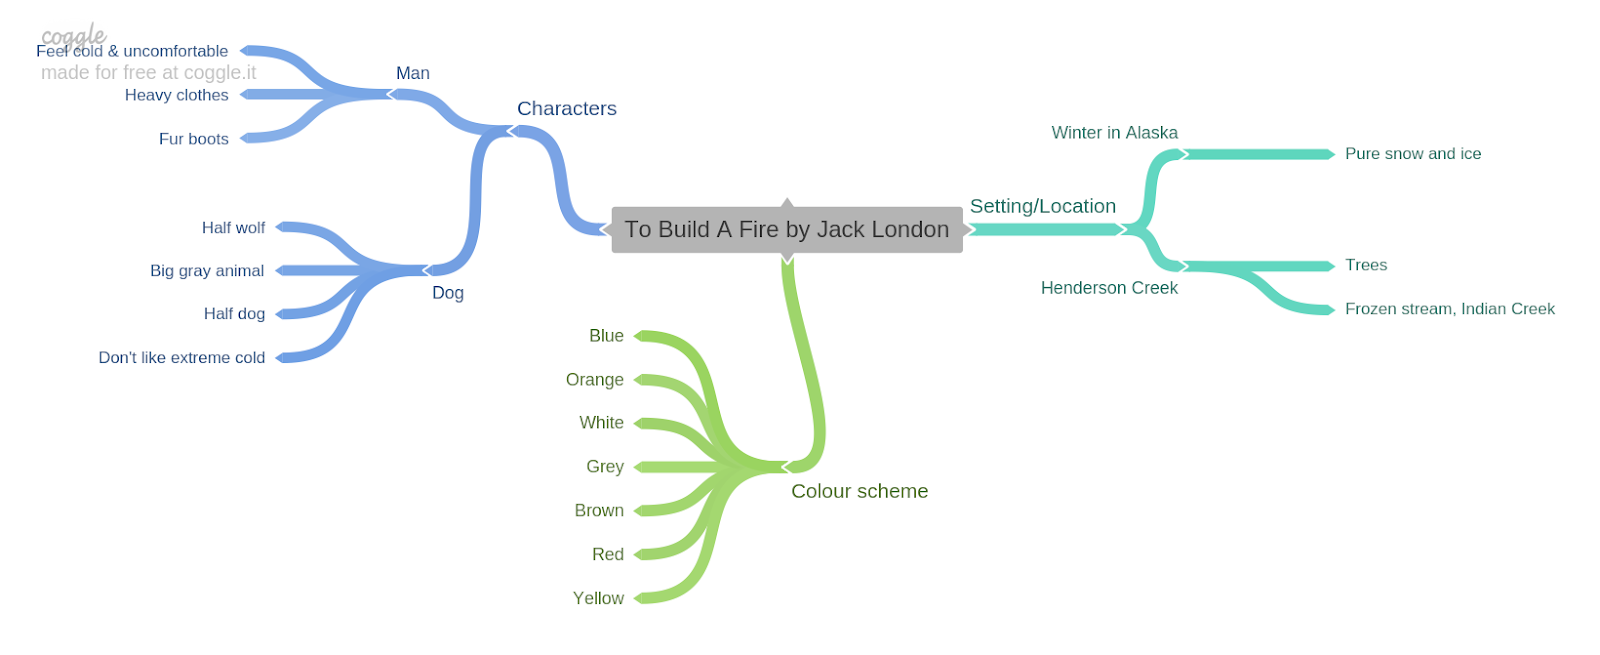
After planning out the story, I did a mindmap of the characters, colour scheme & setting of the story to make it clear for me to illustrate later on.
Mindmap of Characters, Colour Scheme, Setting/Location
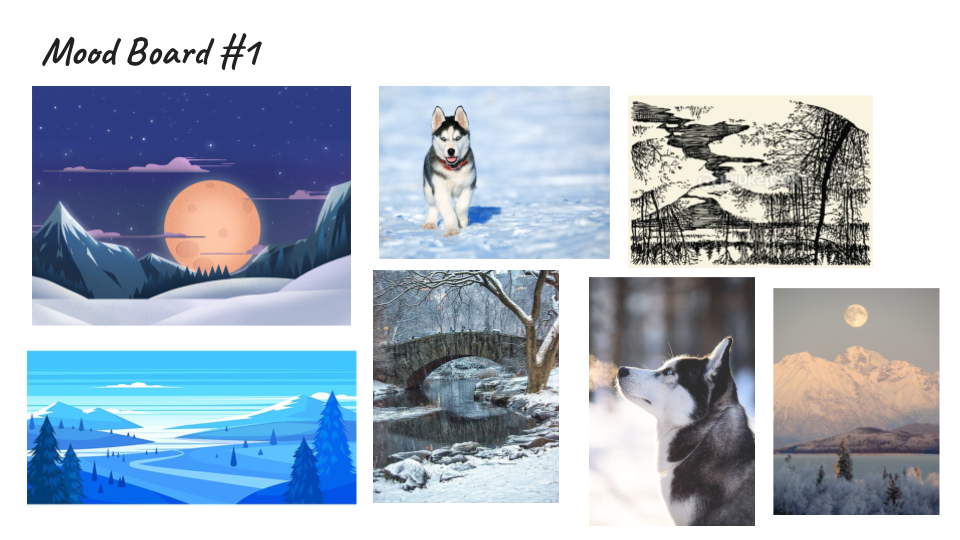
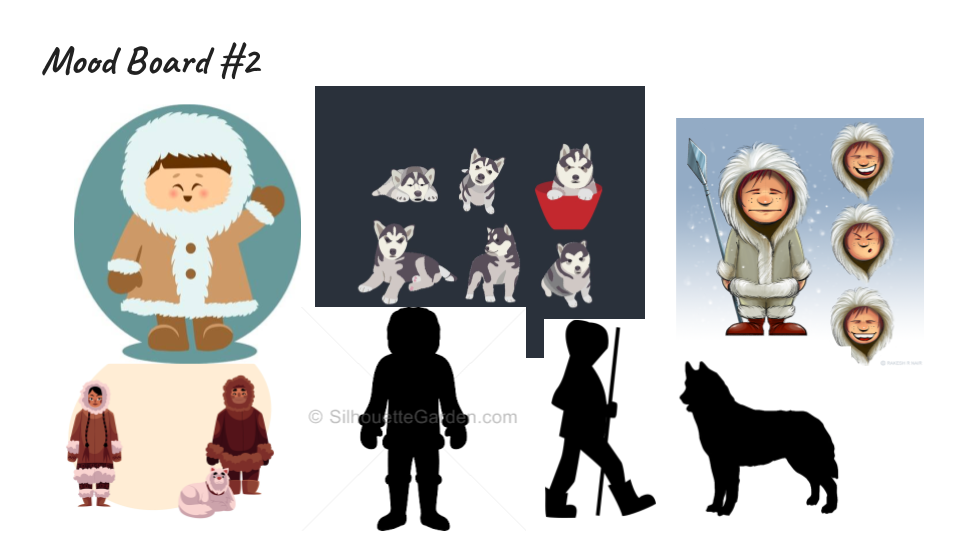
I searched for images as references to help me with my illustration for the storyboard.
Mood Board #1
Mood Board #2
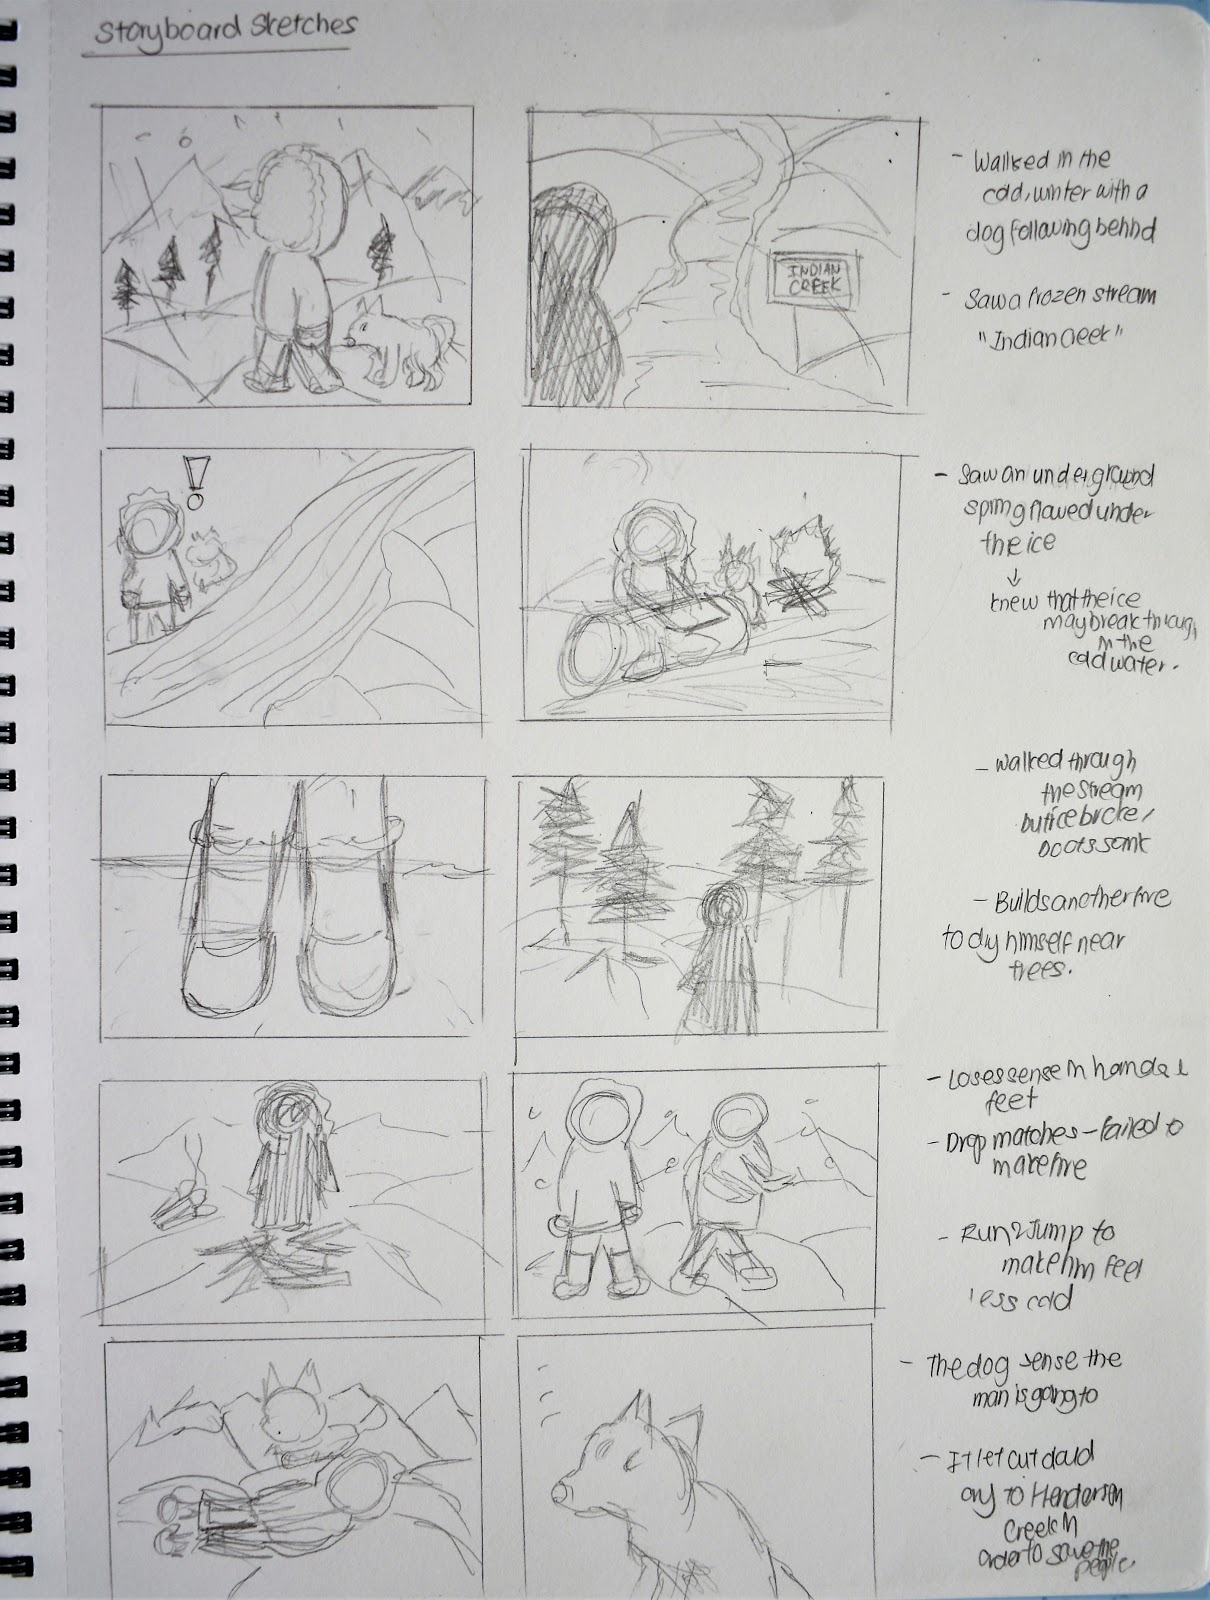
From these references, I sketched out the main parts from the story analysis using a storyboard.
Storyboard:
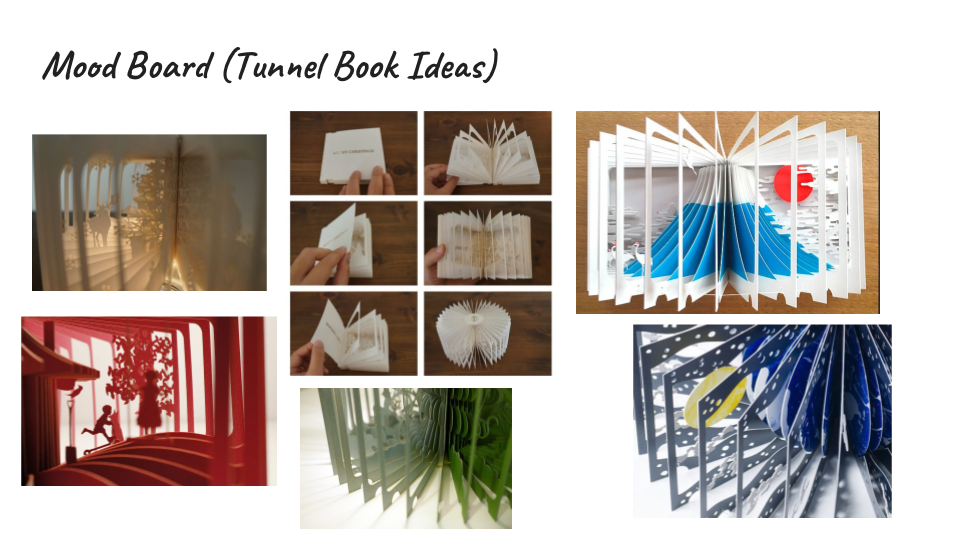
Once the storyboard is finalized, I moved on to sketch out the layers for my tunnel book. But before that, I searched for some ideas in Pinterest to help me design my tunnel book.
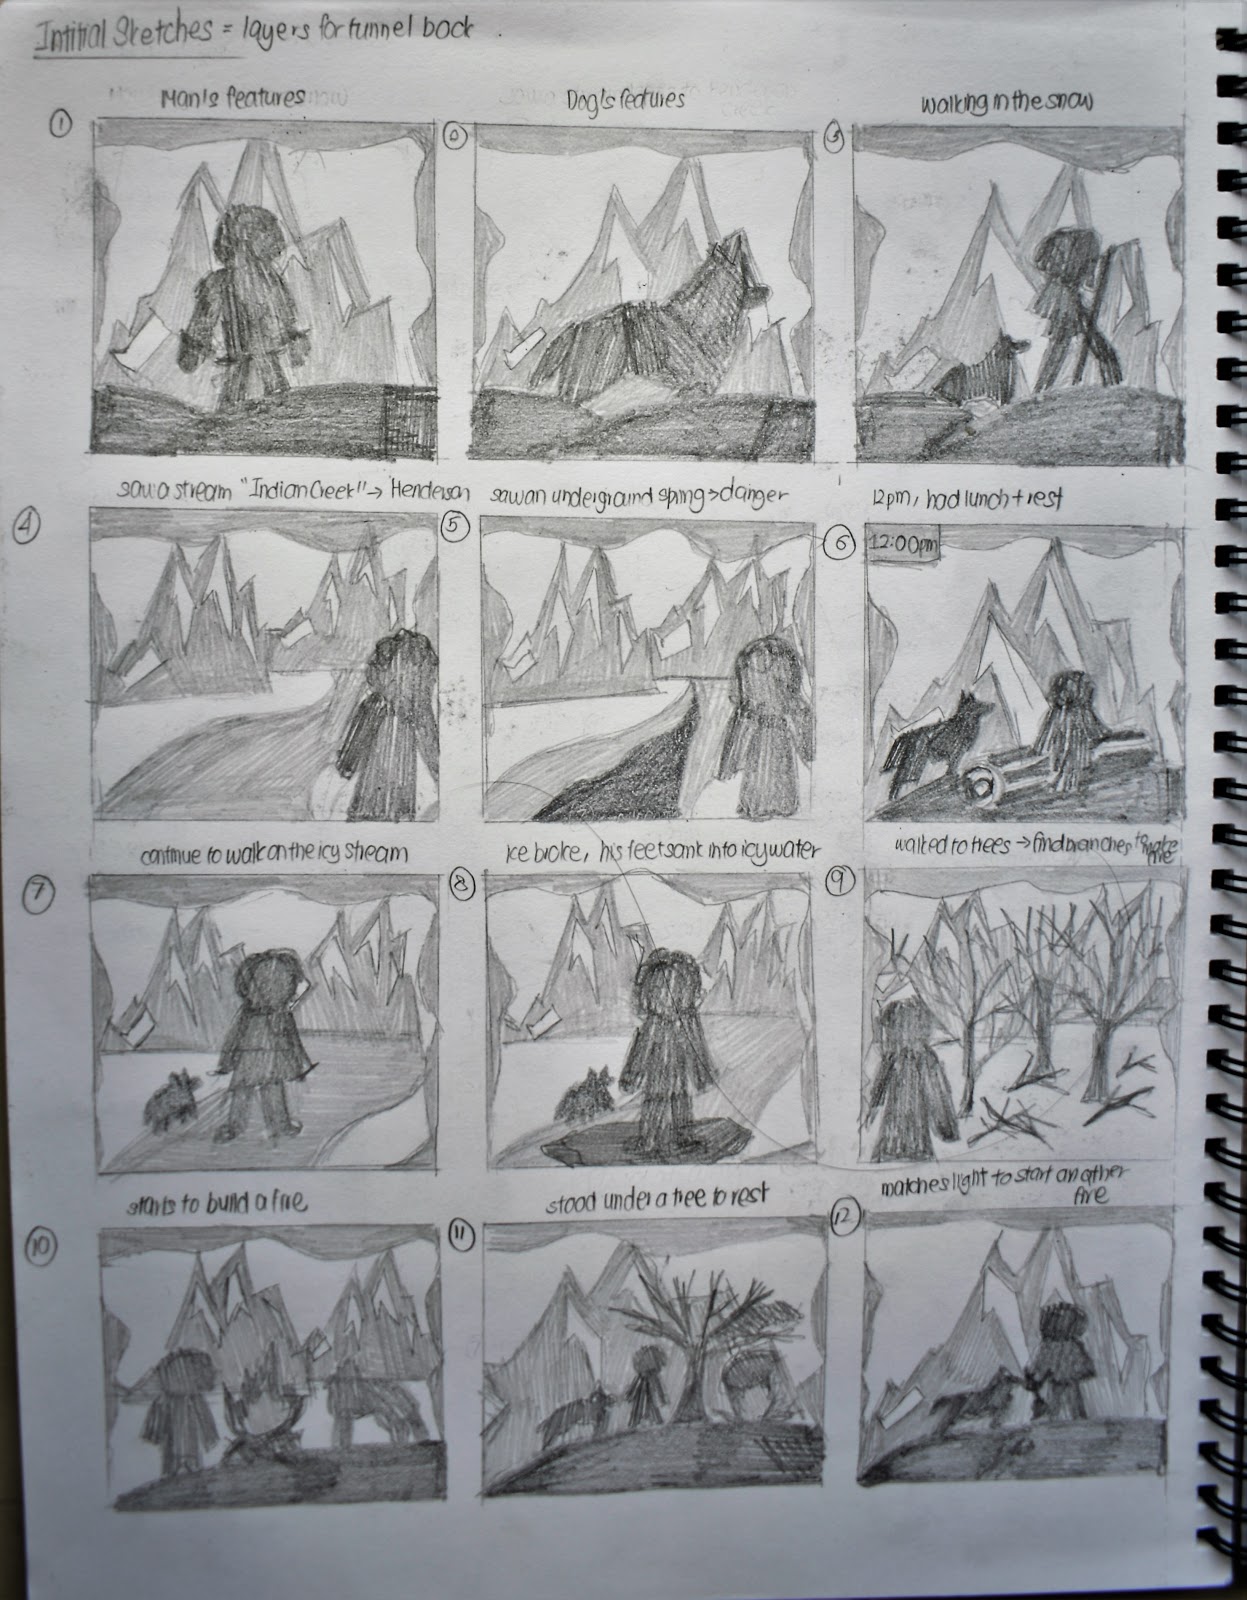
Later on, I sketched out the frames/layers I will show in my tunnel book. I used my storyboard and story analysis to help me with these sketches.
Sketches of tunnel book frames #1:
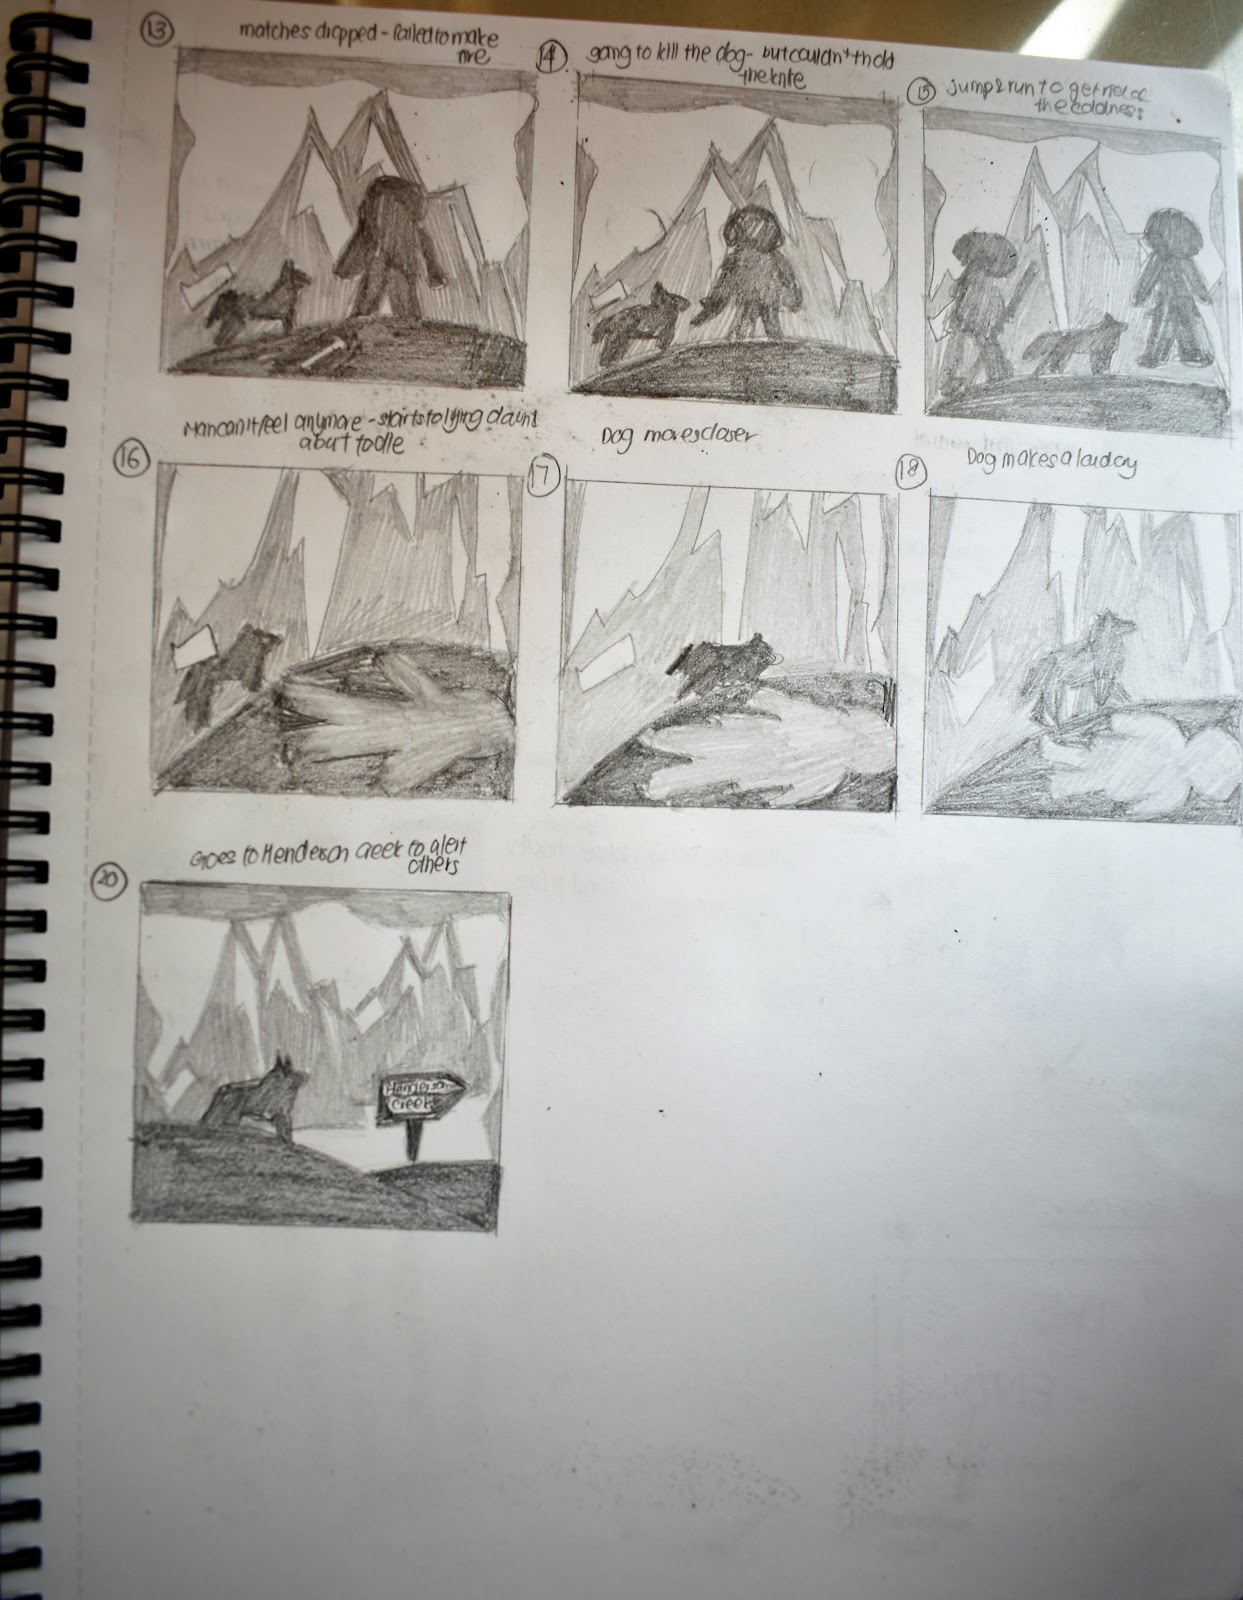
Sketches of tunnel book frames #2:
From these sketches, I analyse the types of transitions in each frame I used in the story.
Frame 1-2: [Subject-to-subject] showing the features of the characters.
Frame 3-9: [Scene-to-scene] showing different areas of the same location.
Frame 10-16: [Action-to-action] showing a series of actions by the character.
Frame 17-19: [Moment-to-moment] showing movements of the dog.Frame 19-20: Scene-to-scene -showing dog travelling from one place to another.
This week, I continued to illustrate my sketches in Adobe Illustrator so that it would be easier for me to print them out and trace and cut it on paper later.
Process of tunnel book frames in Illustrator
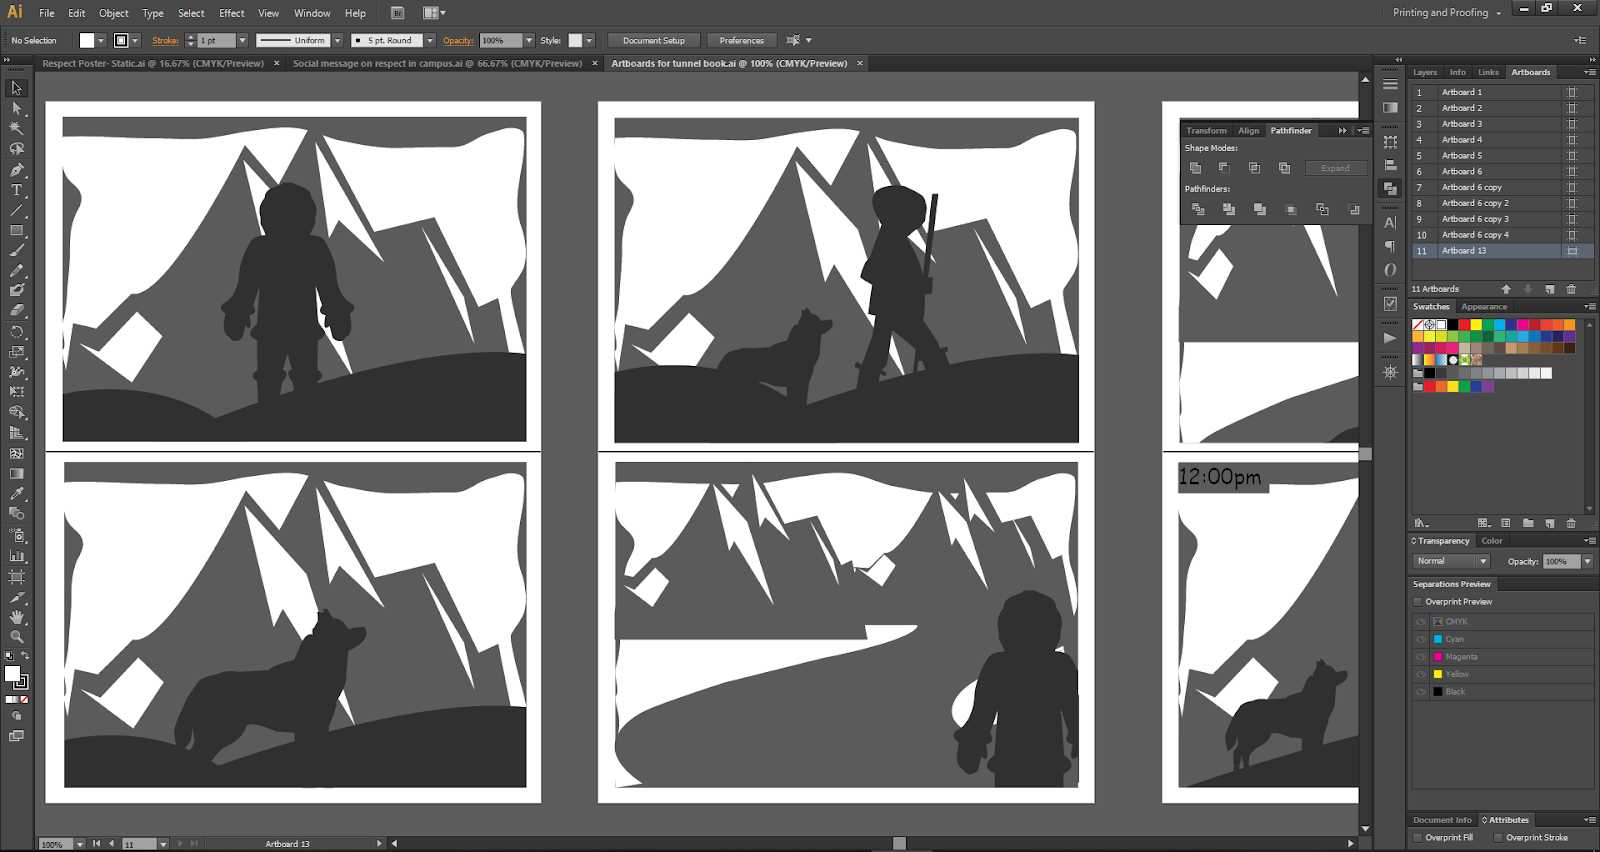
Artboards for each frame of tunnel book
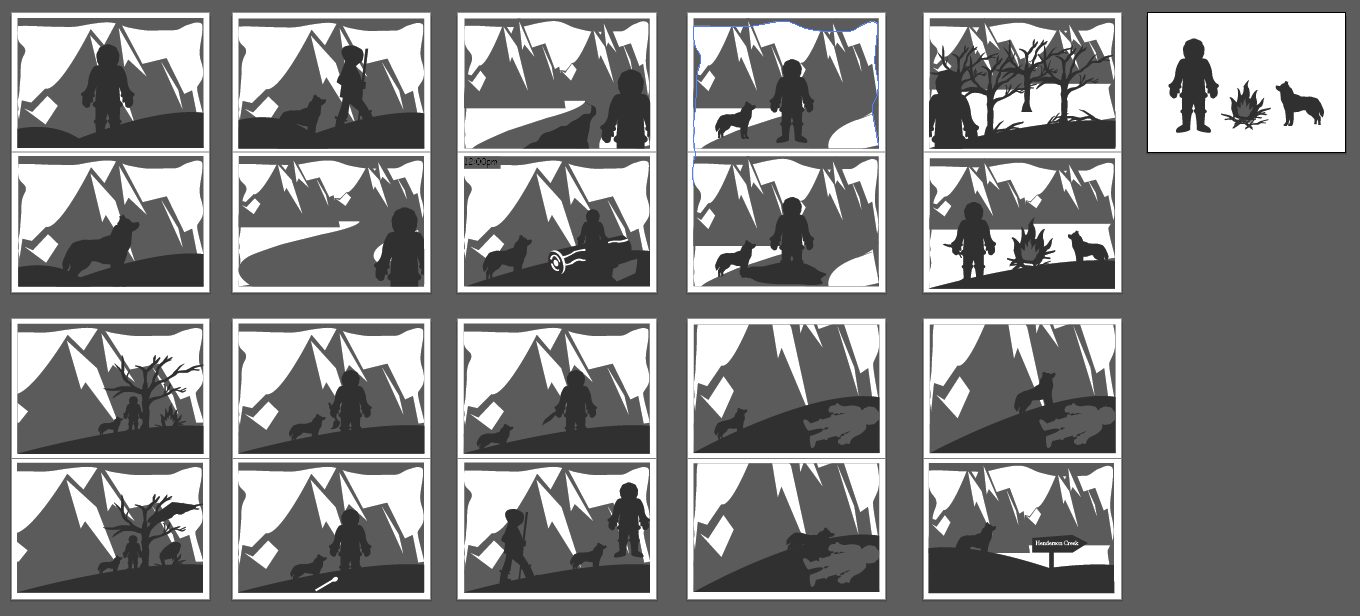
PDF version of my tunnel book frames
https://drive.google.com/file/d/1QdPEryMfeqI4fBvSo_vdckIToCoN0d5i/view
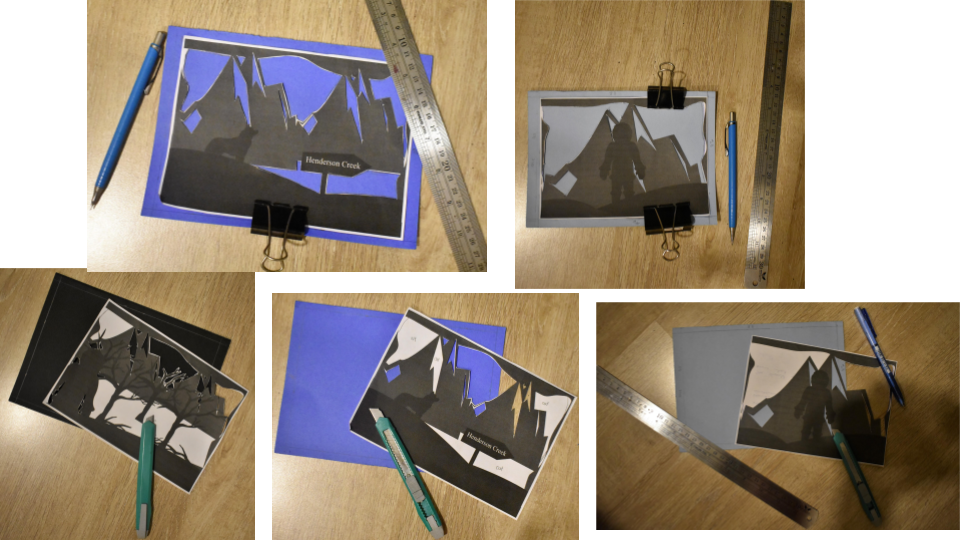
Before I start doing the actual cutting of the frames, I did a trial using recycled papers to make sure I know how to do it and avoid any mistakes.
Mock-up frames
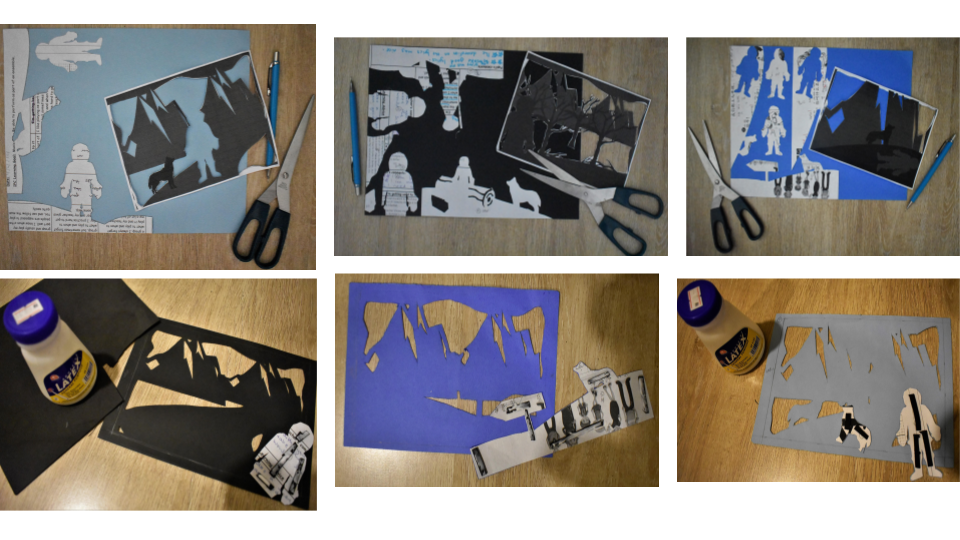
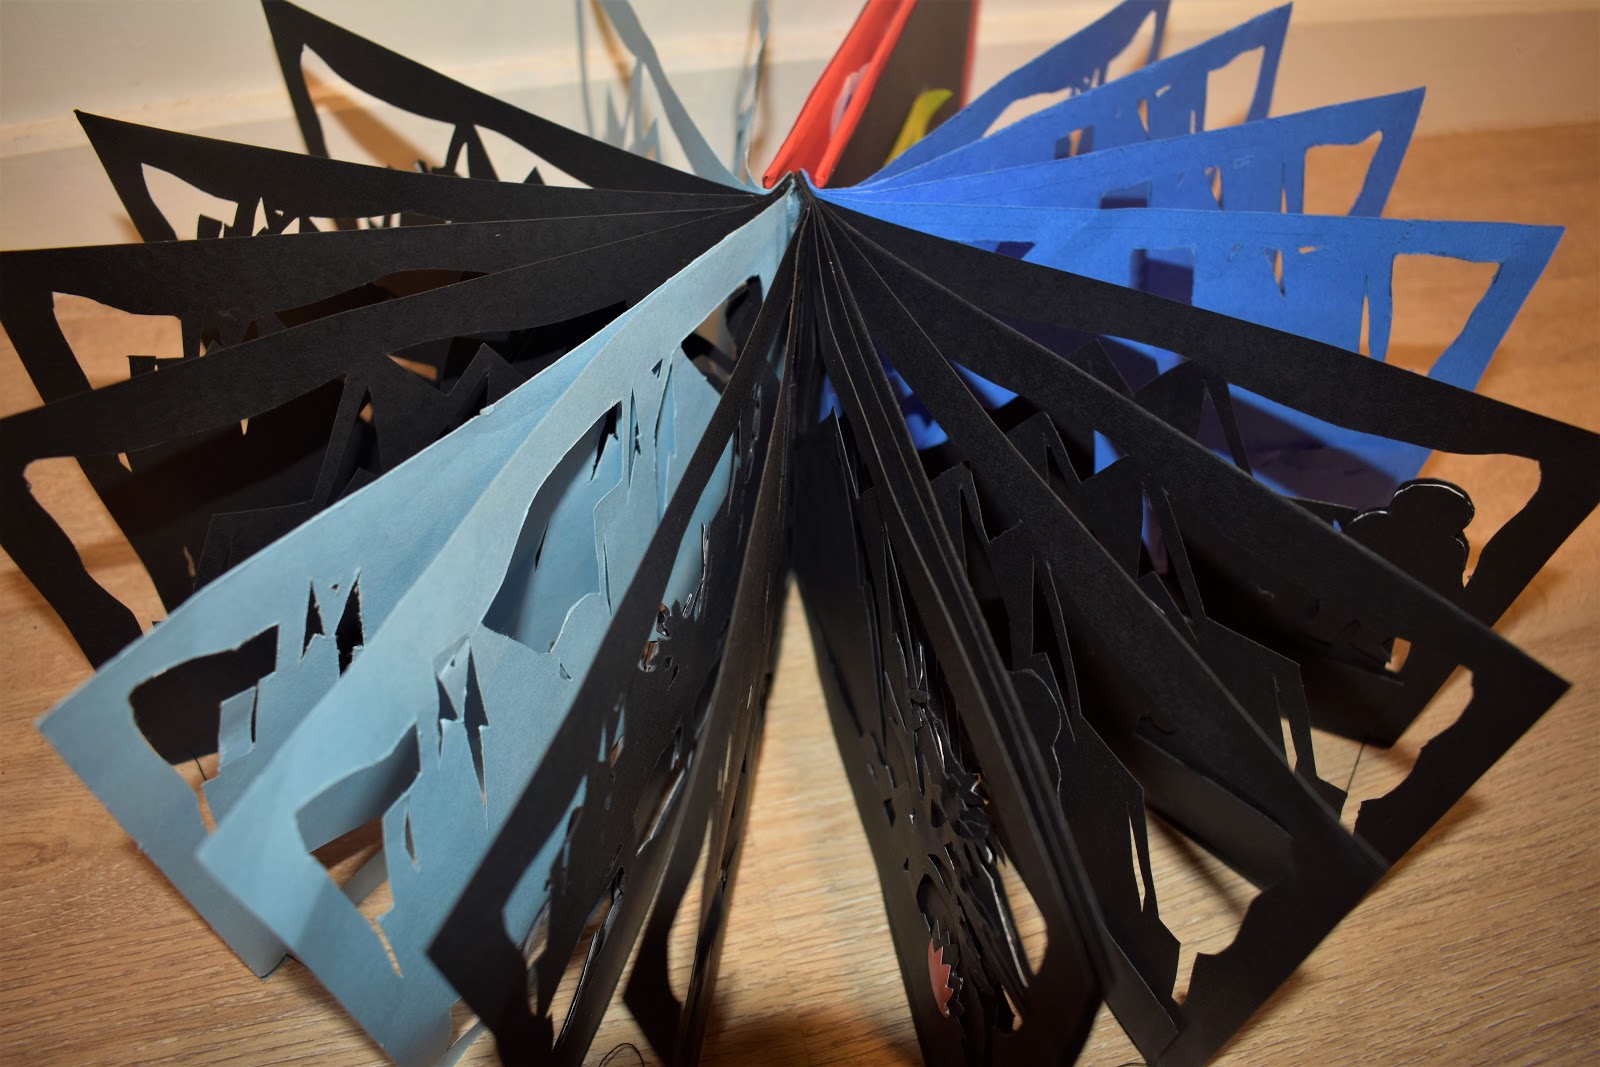
I moved on to the actual one by tracing the template onto the colour papers and cutting them using a cutting blade and scissors. I had to only cut the lighter grey area as they represent the 1st layer as a background. I chose to use blue and black papers as they give a cool and dark colour to the snow setting in the story.
Process of tracing & cutting 1st layer frames
Final Outcome of 1st layer frames #1
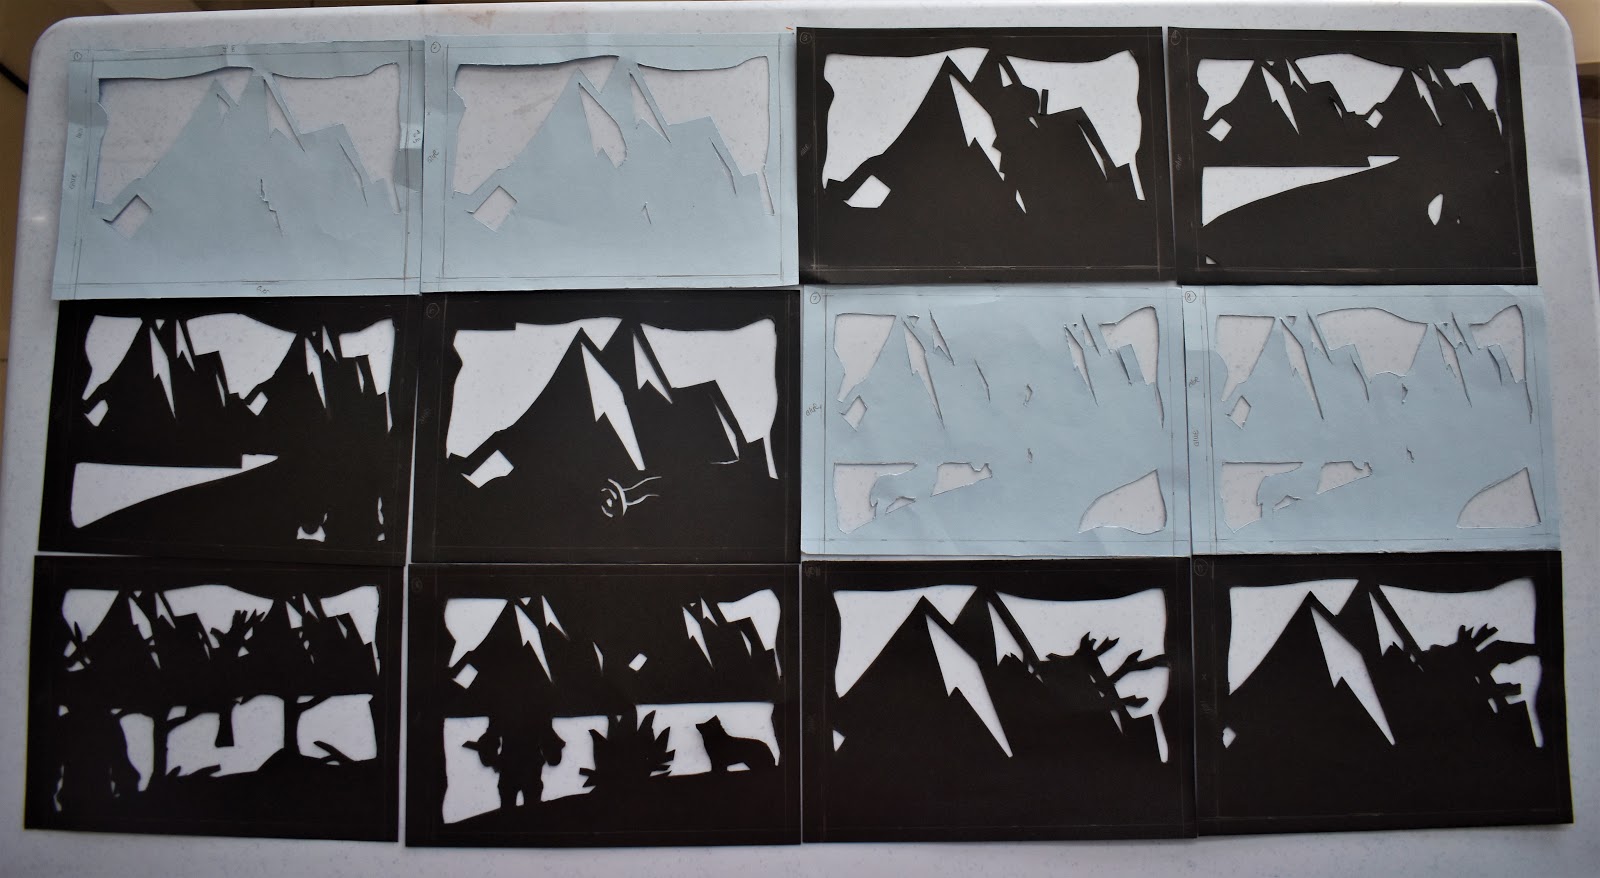
Final Outcome of 1st layer frames #2

Process of cutting & pasting 2nd layer
For this week, I planned out on how to combine all the pages into a 360 tunnel book and how it will look like in different angles. As well as, the design of the front and back cover of the book.
Planning for book layout
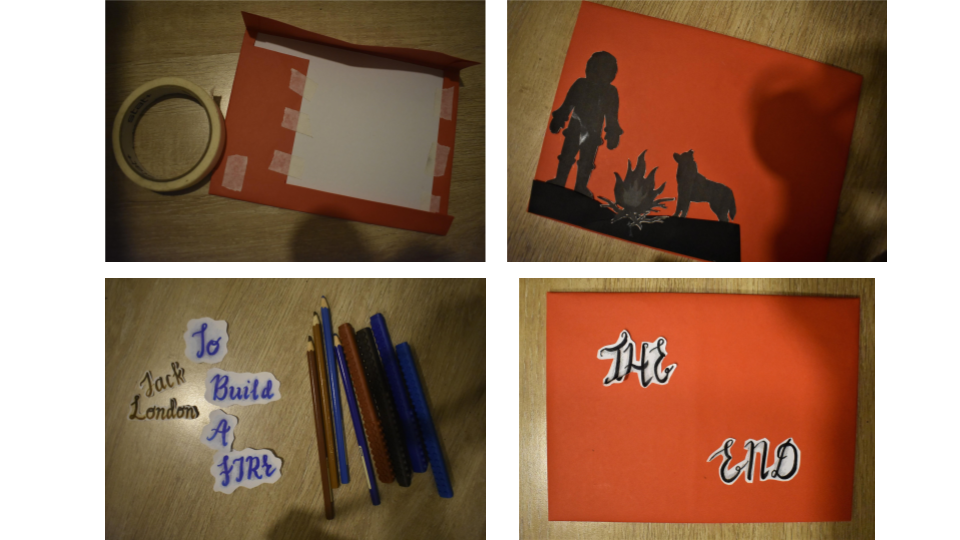
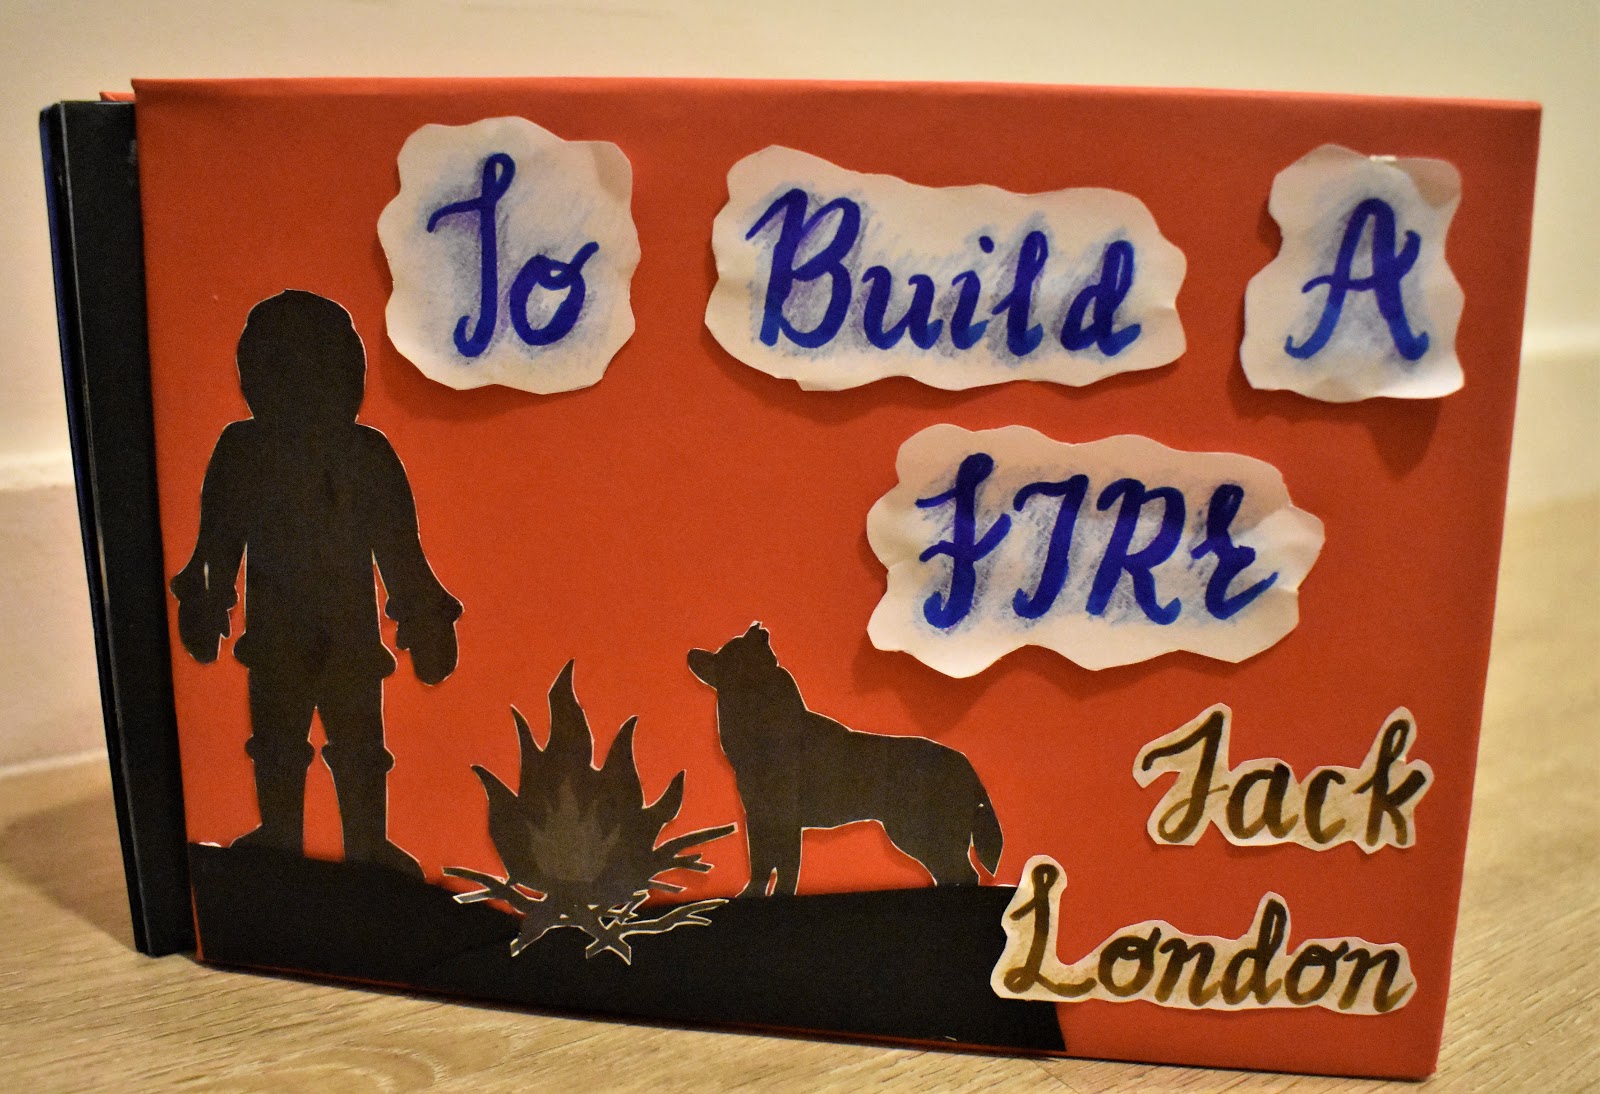
For the front cover, I placed the silhouette of the man, dog and fire to indicate that they are the main subjects/characters in the story. I wrote the title and the author using brush pens. I used a mounting board as the covers so it could help the pages inside to stand firmly and hold it in place when it is closed.
Process of front & back cover
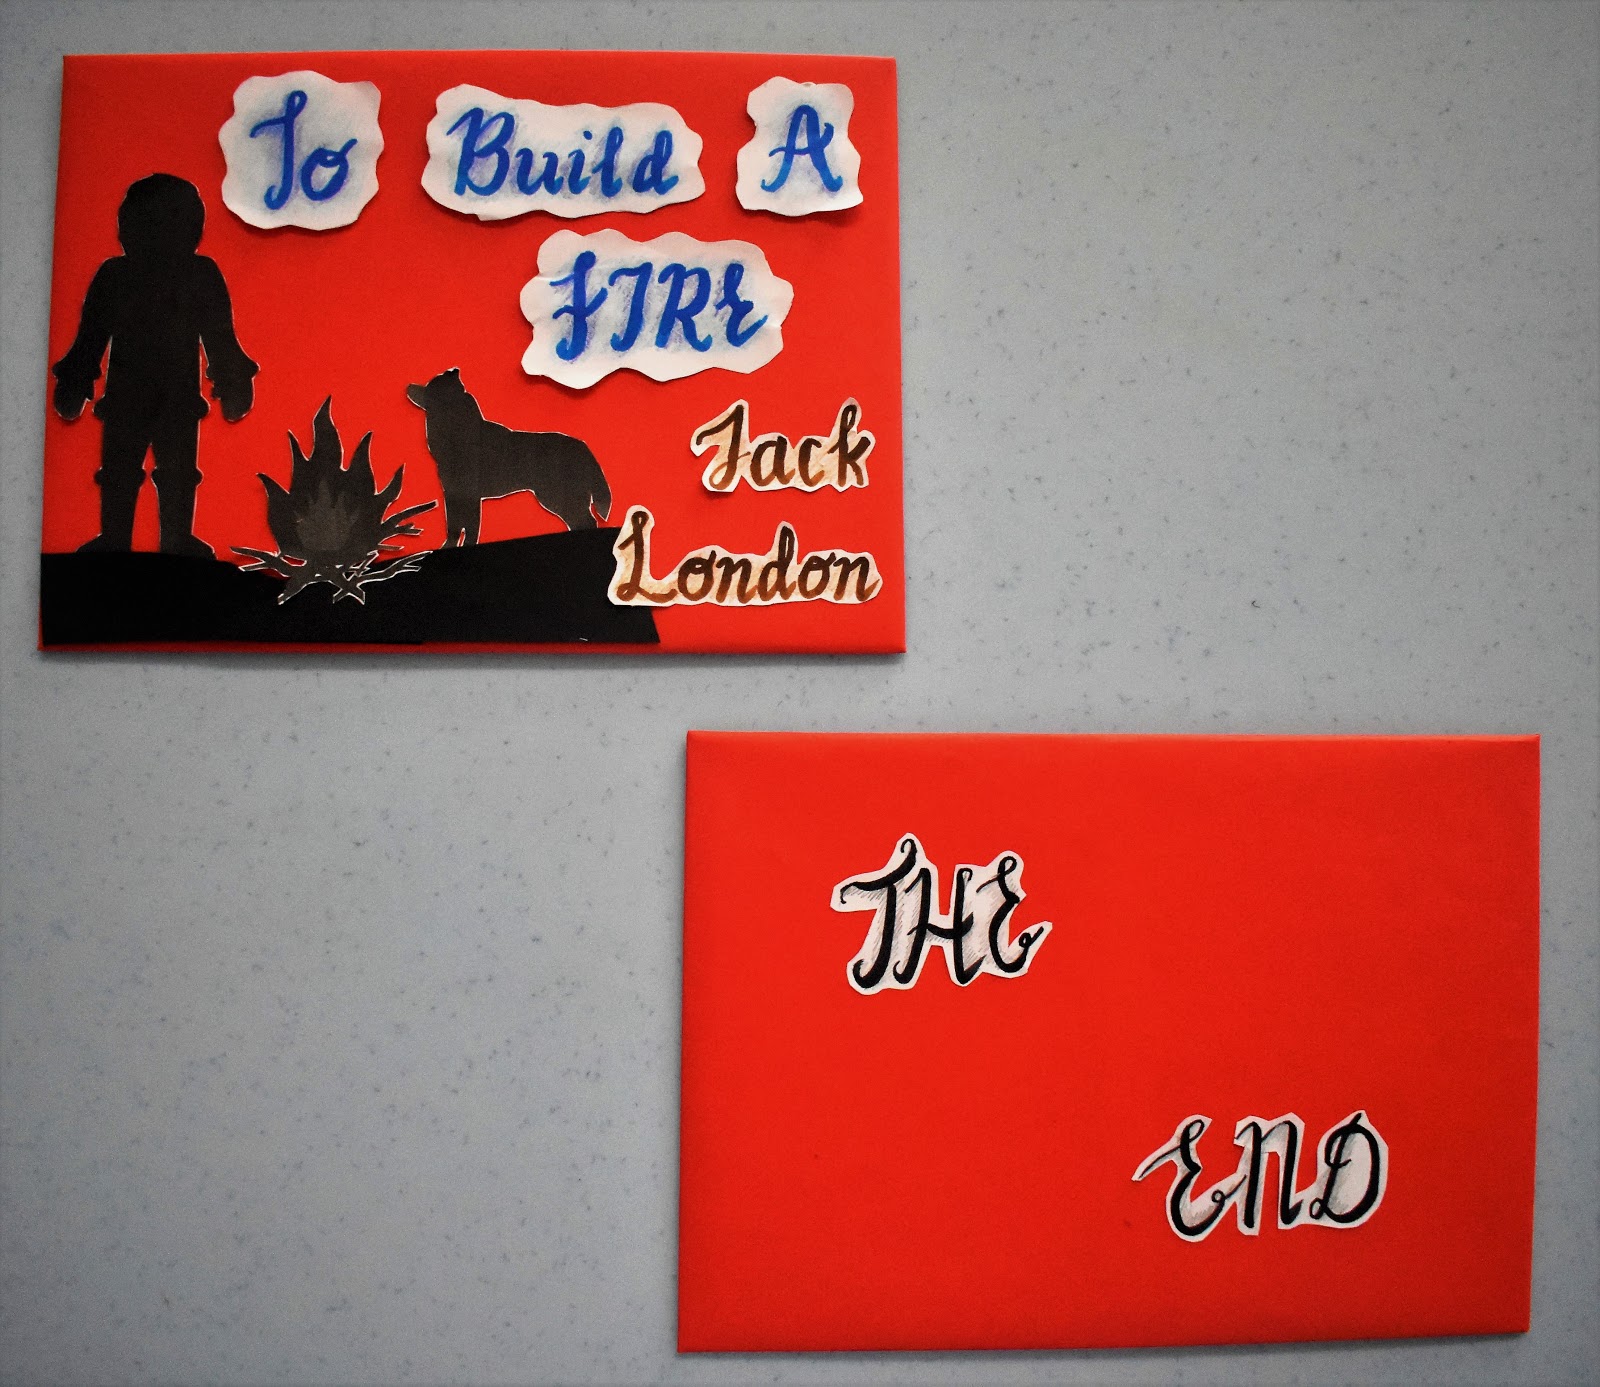
Final Outcome: Front & Back Covers
After creating the front and back covers, I moved on to combining all my frame pages together with a double sized tape into a 360 book.
Process of compiling pages
I found that the pages did not stand in place and there are no similar gaps between each page or frame. So I decided to sew a string below each frame to make sure the pages stay in place and easy to look at.
Sewing process
andreaviechoong.com andreaviechoong.com
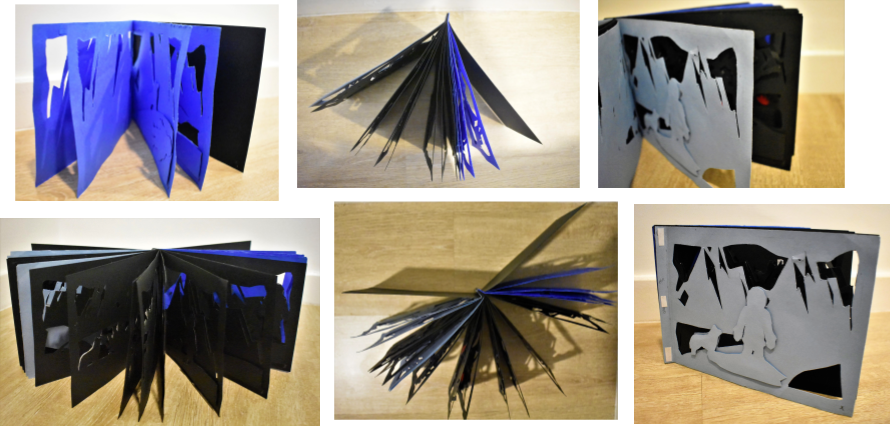
And finally, the book is completed, now it is time for the animation part of it. Here are some photos of the final outcome of my tunnel book.
Final Front Cover
Final Back Cover

Final 180-degrees view
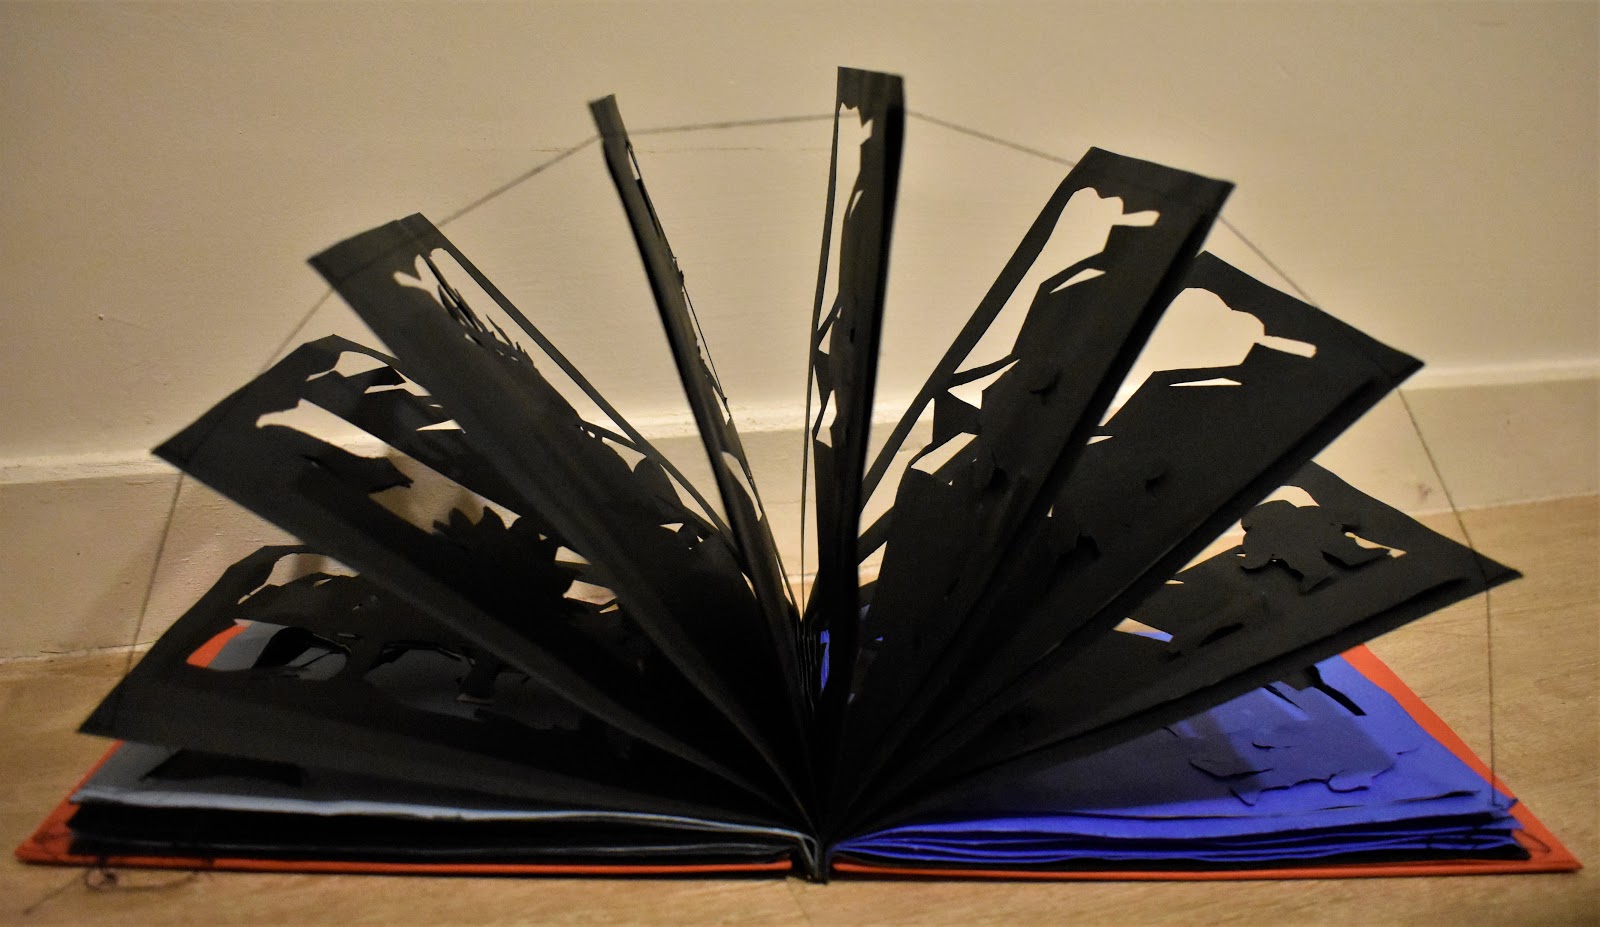
Final 360-degrees view
This week, I focused on doing some parallax animation of my tunnel book. I wanted to create some movements of the flow of the story with close-ups of the characters and the scene of each frame.
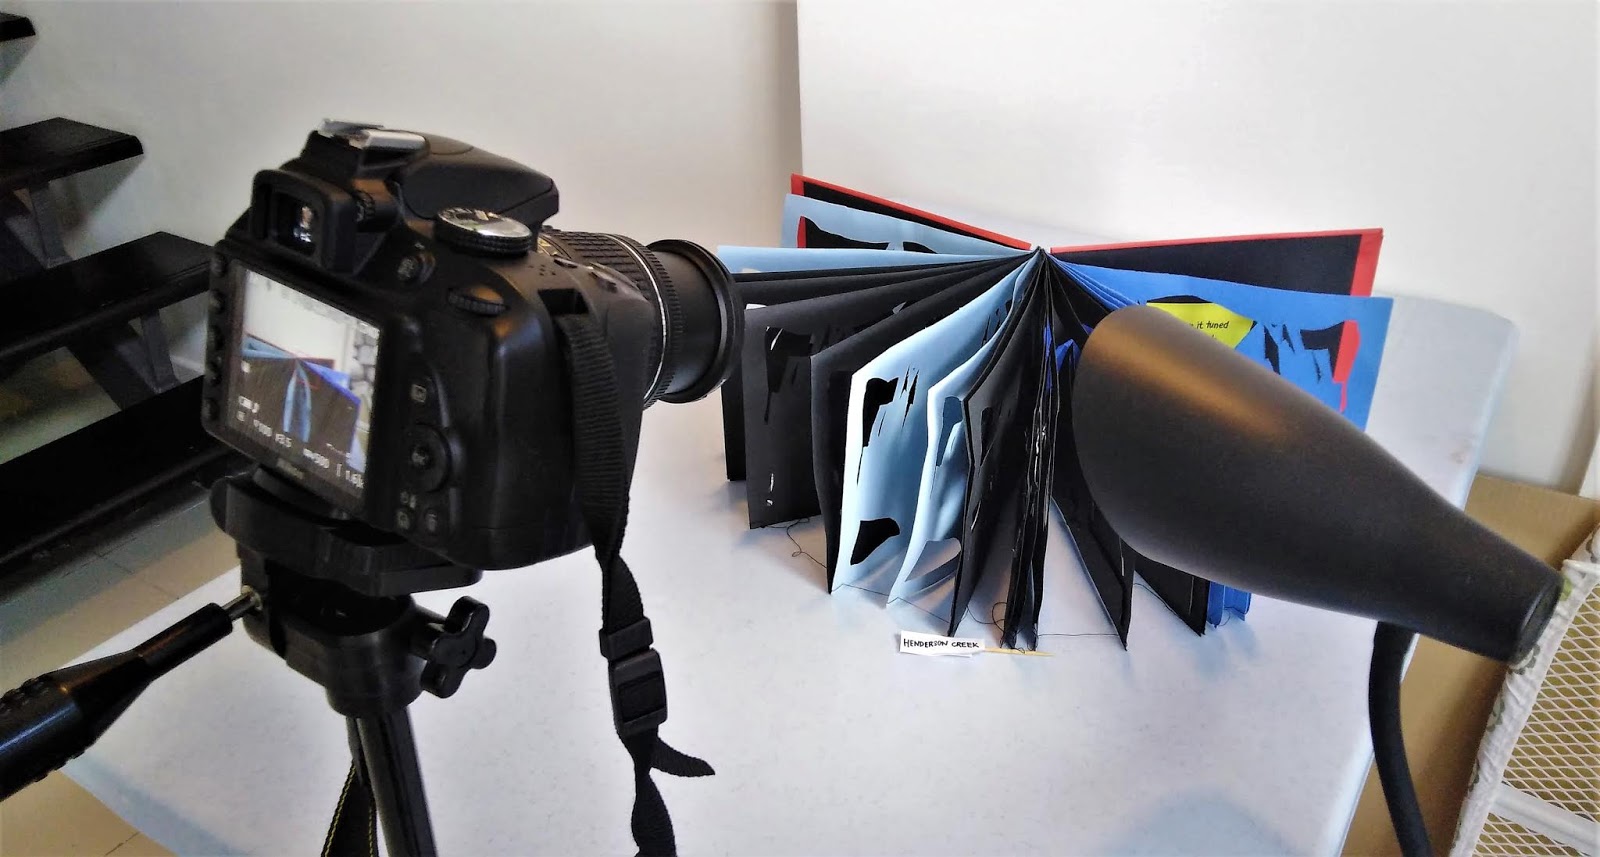
I took a few video clips in different angles from the 360-degree view and the 180-degree view.
Filming the tunnel book parallax
Editing the video in Camtasia 9
And here is my parallax video of my tunnel book!