During week 2 lecture and tutorial, I learned how to adjust basic controls in manual mode when using a DSLR camera. He even talked about the differentiation between DSLR lens.
DSLR lens
Standard lens
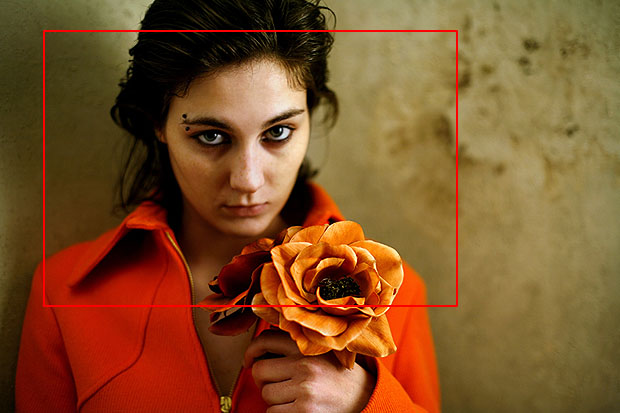
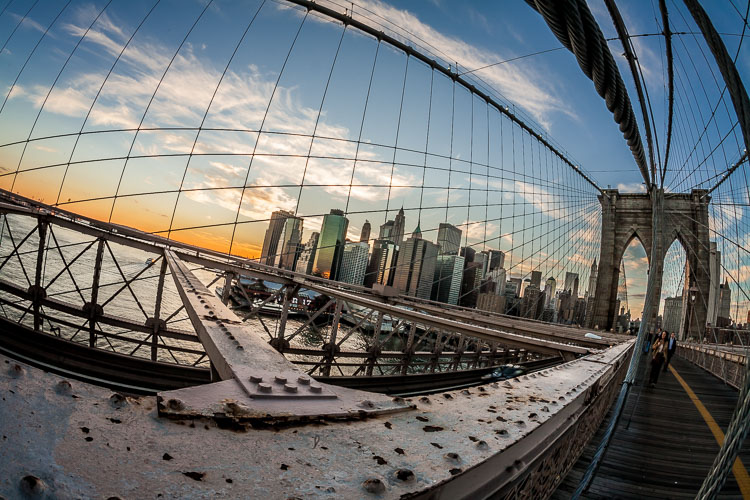
Wide Angle
Tele view
I learn three devices that helps to control the light:
- Iris/ Aperture (lens)
- Shutter speed (body)
- ISO (camera body)
Iris/Aperture
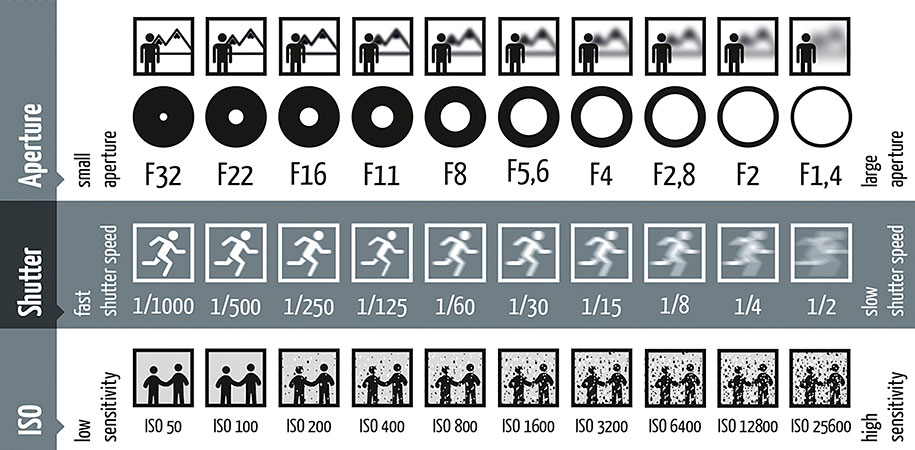
The iris or aperture is control in the lens. It is measured by the f-stop which is indicated using a f-number. While controlling the f-stop, I found out that the lower the f-stop, the larger the lens opens. It can be understand as the larger the lens opened, the brightness increases. This is because light can travel through the lens.
Shutter Speed
The shutter speed is control by the camera body. It is used to control the amount of time the sensor exposed to the light. Therefore, a faster shutter speed can slow down movements into freeze action, but slower shutter speed can blur out the movement. It can be interpret as a door that opens and closes that allows light onto the film.
ISO
The ISO is control by the camera body. It measures the sensitivity of the image sensor. The lower the number, the less sensitive the camera is to light and the finer the grain.
This is an overall chart to summarize my learning for this day.
As a additional learning, I learned how to adjust the image setting to monochrome on a DSLR camera. We had to take 5 different minimalist photographs using our DSLR camera.
After learning these basic controls, our lecturer, Mr.Martin asked us to try and take monochrome photos using the DSLR camera and the skills we learned during the lecture. This learning can help me to practice and improve my skills in the future.